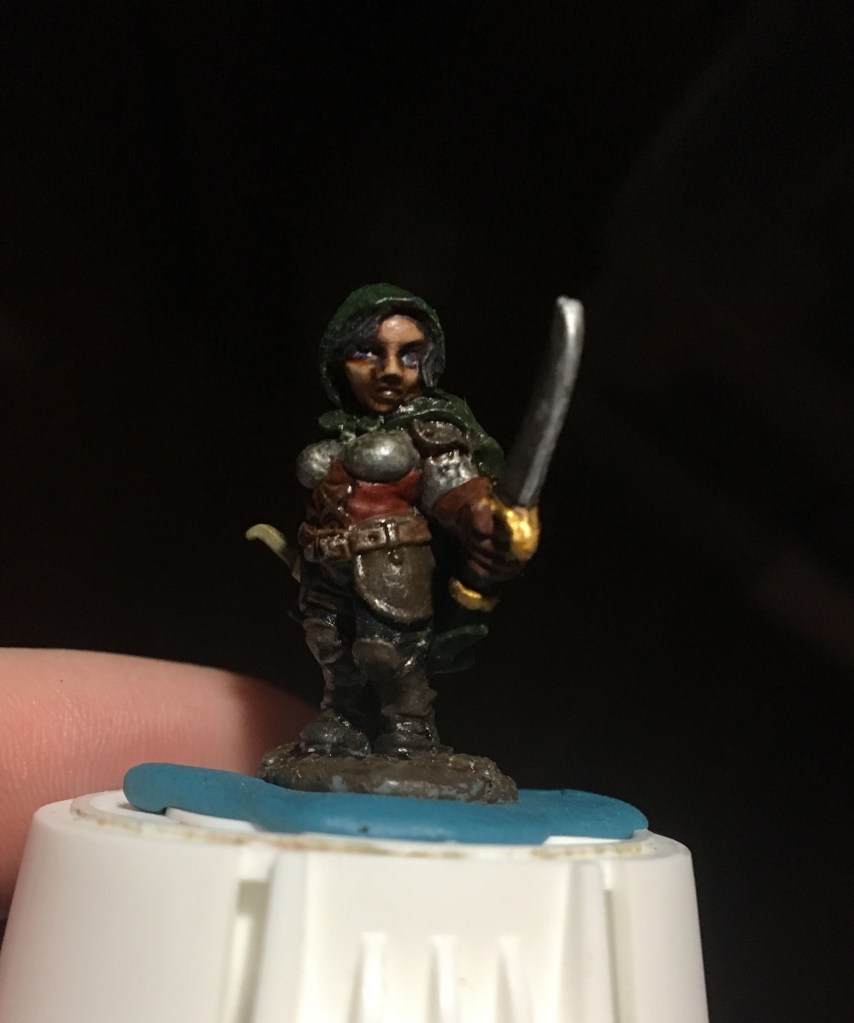
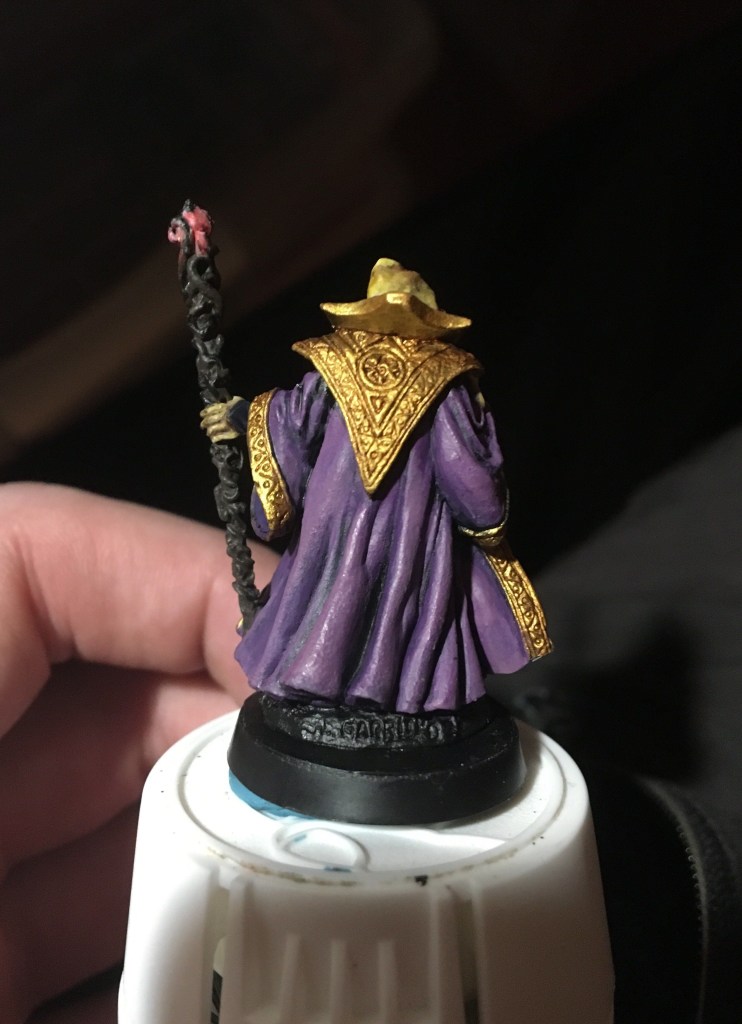
I wasn’t too happy with how my lightest blue highlights stood out on the top of the wraith’s hood but after a glaze or two of my darker blue, i am left with a highlight that still reads but lacks the hard brush stroke lines it had before.
Naturally I started highlighting on the head so that my rookie mistakes could be the first thing you notice and not the brush strokes where I nailed my control.
But really it was a test to see what highlights on the top of the hood would look like and as I predicted they didn’t come out so good.
I think I did well on other parts though. Since I’m so new I need time to process whether I’ve gotten a look I like or not.
Subtle on the back here… too subtle or just right?
And now a showcase of me painting a face! To a state of somewhat doneness:
Eyeballs and all! Let’s not talk about her lack of eyebrows 🤐
Things I might update if I feel confident: her mouth region looks almost like 5 oclock shadow from how the wash pooled. Though maybe shes a dwarf woman who actually can grow a 5:00 shadow…
Progress pics:
Pre washPost washAnother layer of skin tone and wash I didnt photograph progress pics of later: eye whites added
Gave it a layer of light blue and grey mix, taking care to leave the shadows dark. I can see it looking even better with more highlights but at least now I can get behind the color.
I want to imagine the gun a different color. I think the gun distracts too much from the head as is in a way that clashes. And the head would be more annoying to repaint. Not that I couldnt highlight it a bit.
Added highlights to the helmet
With that change I like the helmet more but still not sold on the gun. Maybe sleeping on it will help. Got the highlight color by mixing off white into my light blue reaper paint.
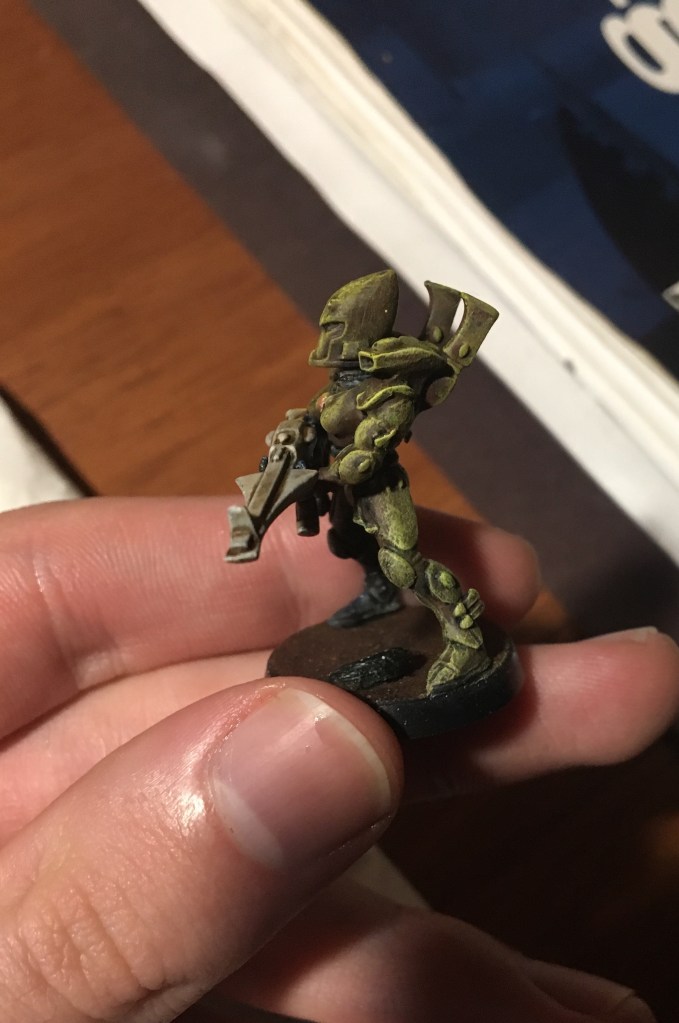
Materials used: one brush, Vallejo black brush on primer, and scale 75’s heavy metal and dwarven gold paints. The base is with pva glue and playground sand.
Dead simple, I just drybrushed the metallic over the black primer. Go google how to drybrush miniatures if you dont know.
Inspired yet again by the OG Vince Venturella, this time by his painting black video, I decided to start painting these black riders with a basecoat of a near-black and shading with a black wash. If you basecoat pure black, you cant shade with a wash and get any meaningful contrast between raised surfaces and recesses.
For the left wraith I basecoated dark blue and for the right one I basecoated dark grey. Nighttime vs daytime nazgul. Something something its always sunny reference.
I plan to highlight these some more (the hoods offer some good practice edge highlighting) but even with this intro of basecoat and wash I like where these are going. Improved from just plain black primer.
While the base of the night rider looks like the body, I actually painted it dark grey and then washed it with blue tone. It seems like blue tone works so well for this that I could easily turn day wraith into a night wraith with a single blue tone coat.
I dabbed on some white with a bit of spongy foam on this guardian in an attempt to make dense star looking patterns and got mixed results. I accidentally put on too much paint in some places so it globbed together into a solid streak instead of looking like a clump of individual stars. But in other places I got the desired effect. I couldnt get the very deep into any recesses without smearing the white so I’d recommend this technique for wide spaces rather than textured ones.
It’s also possible I had too much paint on the foam in the first place, I only did one test so I can’t claim to have a deep understanding of how this method might be tweaked for better results.
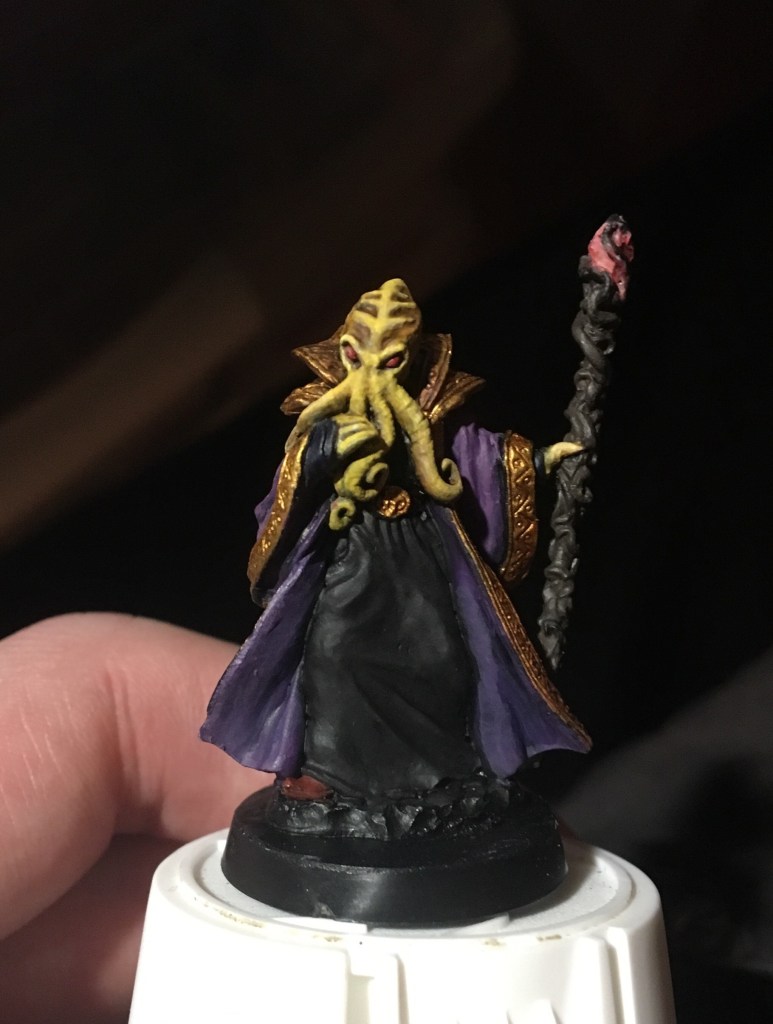
The eagle eyed among you will spot the greenstuff on the end of this arm
I glued a piece of steel pin in this arm rather than a full magnet. All good on the dry fit but when I glued it in some of the pin stuck out. I tried a variety of solutions to cut the pin flush with the arm: using my file (too slow progress), my sprue snippers (PLEASE don’t try this, it did nothing useful AND damaged my snippers), and finally a big ol box cutter knife on the recommendation of a hardware store employee and still couldn’t cut the pin to size. So I turned to my greenstuff.
“If you can’t beat em, join em” became my motto and I built up greenstuff around the protruding pin while doing my best to blend it into the existing arm with my patience as a limiting factor. Priming and painting it will be the real test but I think I did ok.
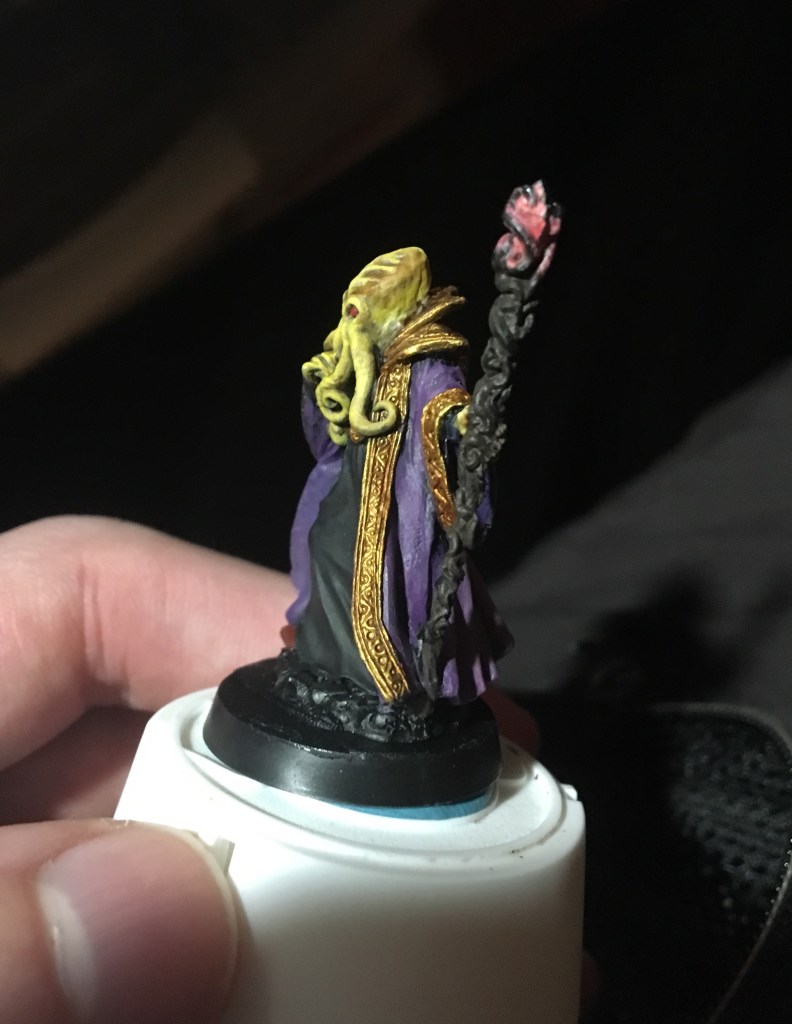
Staff is still in WIP status because I ended up filing down a mold line and redoing the primer. I understand primer is best left to set for 24 hours to I choose to wait before adding more layers over it.