The blue tinged everything looked cool with these white bits but i was dying to see how they looked with a true white highlight.
Maybe too washed out now but can always do more shade work. I also think the head will help the look since it will be largely white as well.
Prepping for a final coat of white
For a while ive decided i like the white helmets on my eldar but havent taken steps to change them from various blues and blacks. Using buff as an undershade this time as opposed to the more orange skin tone id used before lets see how it goes.
If only i had the brush accuracy to not spill buff into the face mask i want to stay darkToo hasty too hasty
Just like with the yellow/red/orange mohawk i did before, i basecoated some light flesh tone over the black primer before proceeding.
Unsure with what pink to use since i dont own a premixed pink, i mixed up two for starters.
On the right is model color vermillion plus model color ice yellow from vallejo. On the left i mixed vermillion with game color glacier blue. Inexact ratios, roughly a drop of each paint.
I tried both over the flesh basecoat and preferred the glacier blue mix that reads more pink than red.
All credit to vince venturella for giving me the idea to use a bluish white for pink in his exploring pink video.
I painted the reddish pink as a base with blue pink over it to give depth.
Neither pinks have great coverage so it took a few layers
After a few layers trying to be neat i felt like there was no depth, however, so i turned to my washes. I tried red on one side and purple on the other.
Purple gave the desired effect.
As i went to wipe off the red wash i got more than i bargained for on the napkin.
I tried to put new pink to cover but i accidentally wiped off all the paint down to the black primer on the raised edges. Since washes take awhile to dry i will let it sit overnight before i fix it up.
At last i touched it up, gave it purple shading, then hit it with some generous drybrushing of pink. The shading got washed out a bit more than i might like so maybe i hit it with some more purple.
Ive also since done up the bases on this squad of five. The recipe is black primer, dark brown, dry brushed ice yellow, then painted a thin layer of reaper rich leather brown. I may hit it with more ice yellow drybrush tho to add contrast.
My last little touch on these warriors for now was an ice blue drybrush on the black of the guns. And a drybrush of buff on the bases and the mohawks. Almost imperceptible that drybrush but i swear i did it.
Decided that these warriors came out a bit blah so hit them with some dry brushed scale 75 Heavy Metal to get silverish highlights. Subtle but nice. Maybe i try a brighter silver if i think they could use more contrast.
I also tried painting some purple into the little poison canisters on the guns and I’m not a fan right now. Not sure what I want to replace it tho.
Step one of this mohawk was to cover the black primer with a layer of light fleshtone. This will help with the bright colors i want to add, letting me get more done with less layers of paint.
Next comes base coats of color.
A little messy but next comes a wash to tie it all together:
Applied liberally
And that stuff takes a while to dry.
Check in after dinner and it’s dry:
Now it’s due for some highlights to bring back the vibrancy of the colors while keeping the added shadows from the wash in the recesses.
Highlighted. And blue on the poison can now which I prefer to the purple.
I think I know how to avoid it again but yeah. While fiddling with some dark eldar weaponry and sprue nubs i had the knife fly right into my finger.
I think next time Id do better to trim the nubs shorter with clippers before going at them with the knife. My knife was sharp already, fresh blade, so I dont think that was the issue. Perhaps a clamp of some kind would work in the future so my finger isnt in harms way but I dont know how i would set that up.
Funnily enough I read somewhere that super glue was first invented as a medical adhesive so I tried using it to seal the flap of skin over the cut. An awkward location for a normal bandaid, so close to the nail. And it worked ok. The glue would kind of flake off after several hours but then I would reapply.
Not much painting from me for now while Ive been in pain from some combination of computer use, bad posture, sedentary pandemic life, and whatever else may have contributed.
Got this beaut waiting for me when im ready though:
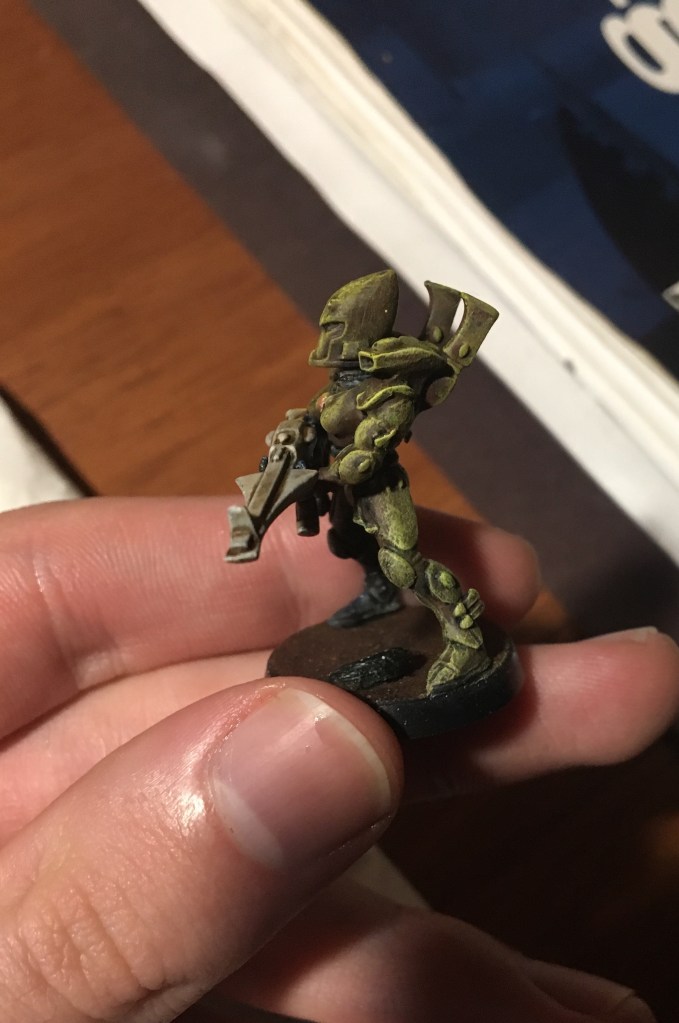
Got my hands on some dirt cheap old Dark Eldar kabalites (thanks ebay) new on their sprues and have built and painted a few so far.
So hard to decide on what colors I want the accents to be but I feel set on this golden armor theme.
If for no other reason than to simplify my further choices lol!
I got the gold by first painting every armor bit silver. Then washed with brown ink. Then drybrushed gold. Then highlighted silver. The silver highlights scare me though so i havent done much of those. So easy to make them ugly ugh.
Eye lenses red? Blue? Orange? We shall see.
The poses on these have surprised me with their finnickyness. Ive gotten the arms wrong on one so far and I almost didnt have a gun that didnt cover the woman warriors face (her boobs stuck out too much for the weapon on her sprue to sit in front of her chest lol).
I feel conflicted because on the one hand waiting could lead me to a eureka moment but not painting could leave me to giving up and leaving them unfinished. At least I built another model while i contemplated the paint job to keep my hands busy. But building and painting are kindof different skills that dont necessarily buld each other up.
White helmet looks fresh… the botched prime job leaves it with a gritty texture though
So I gave in and ended my hobby streak at day 47? I think? And I feel I got an admirable amount of things done for someone whose last projects were like 15 years ago. I learned things. I tried new techniques. I ended up with a handful of minis passable as ‘done’ and a bunch of WIPs.
I tended to follow a schedule that focused on paint effeciency over model completion. As in, don’t use a paint until I have multiple uses for it lined up to minimize waste. This method let me try out a variety of painting techniques in the last month. But the lack of finished products rubs me wrong. I think going forward I may have to bite the bullet and accept inefficiencies for my sanity in order to finish more minis. Which opens me up to the risk of staying on a project too long, but given my adhd approach so far I predict that going the other way with the pendulum will help me learn new lessons that help in the long run.
Gave it a layer of light blue and grey mix, taking care to leave the shadows dark. I can see it looking even better with more highlights but at least now I can get behind the color.
I want to imagine the gun a different color. I think the gun distracts too much from the head as is in a way that clashes. And the head would be more annoying to repaint. Not that I couldnt highlight it a bit.
Added highlights to the helmet
With that change I like the helmet more but still not sold on the gun. Maybe sleeping on it will help. Got the highlight color by mixing off white into my light blue reaper paint.
I dabbed on some white with a bit of spongy foam on this guardian in an attempt to make dense star looking patterns and got mixed results. I accidentally put on too much paint in some places so it globbed together into a solid streak instead of looking like a clump of individual stars. But in other places I got the desired effect. I couldnt get the very deep into any recesses without smearing the white so I’d recommend this technique for wide spaces rather than textured ones.
It’s also possible I had too much paint on the foam in the first place, I only did one test so I can’t claim to have a deep understanding of how this method might be tweaked for better results.
The eagle eyed among you will spot the greenstuff on the end of this arm
I glued a piece of steel pin in this arm rather than a full magnet. All good on the dry fit but when I glued it in some of the pin stuck out. I tried a variety of solutions to cut the pin flush with the arm: using my file (too slow progress), my sprue snippers (PLEASE don’t try this, it did nothing useful AND damaged my snippers), and finally a big ol box cutter knife on the recommendation of a hardware store employee and still couldn’t cut the pin to size. So I turned to my greenstuff.
“If you can’t beat em, join em” became my motto and I built up greenstuff around the protruding pin while doing my best to blend it into the existing arm with my patience as a limiting factor. Priming and painting it will be the real test but I think I did ok.