How to highlight purple

Look at that cape, that’s a niiice cape 😁 (the model comes from Reaper Bones)

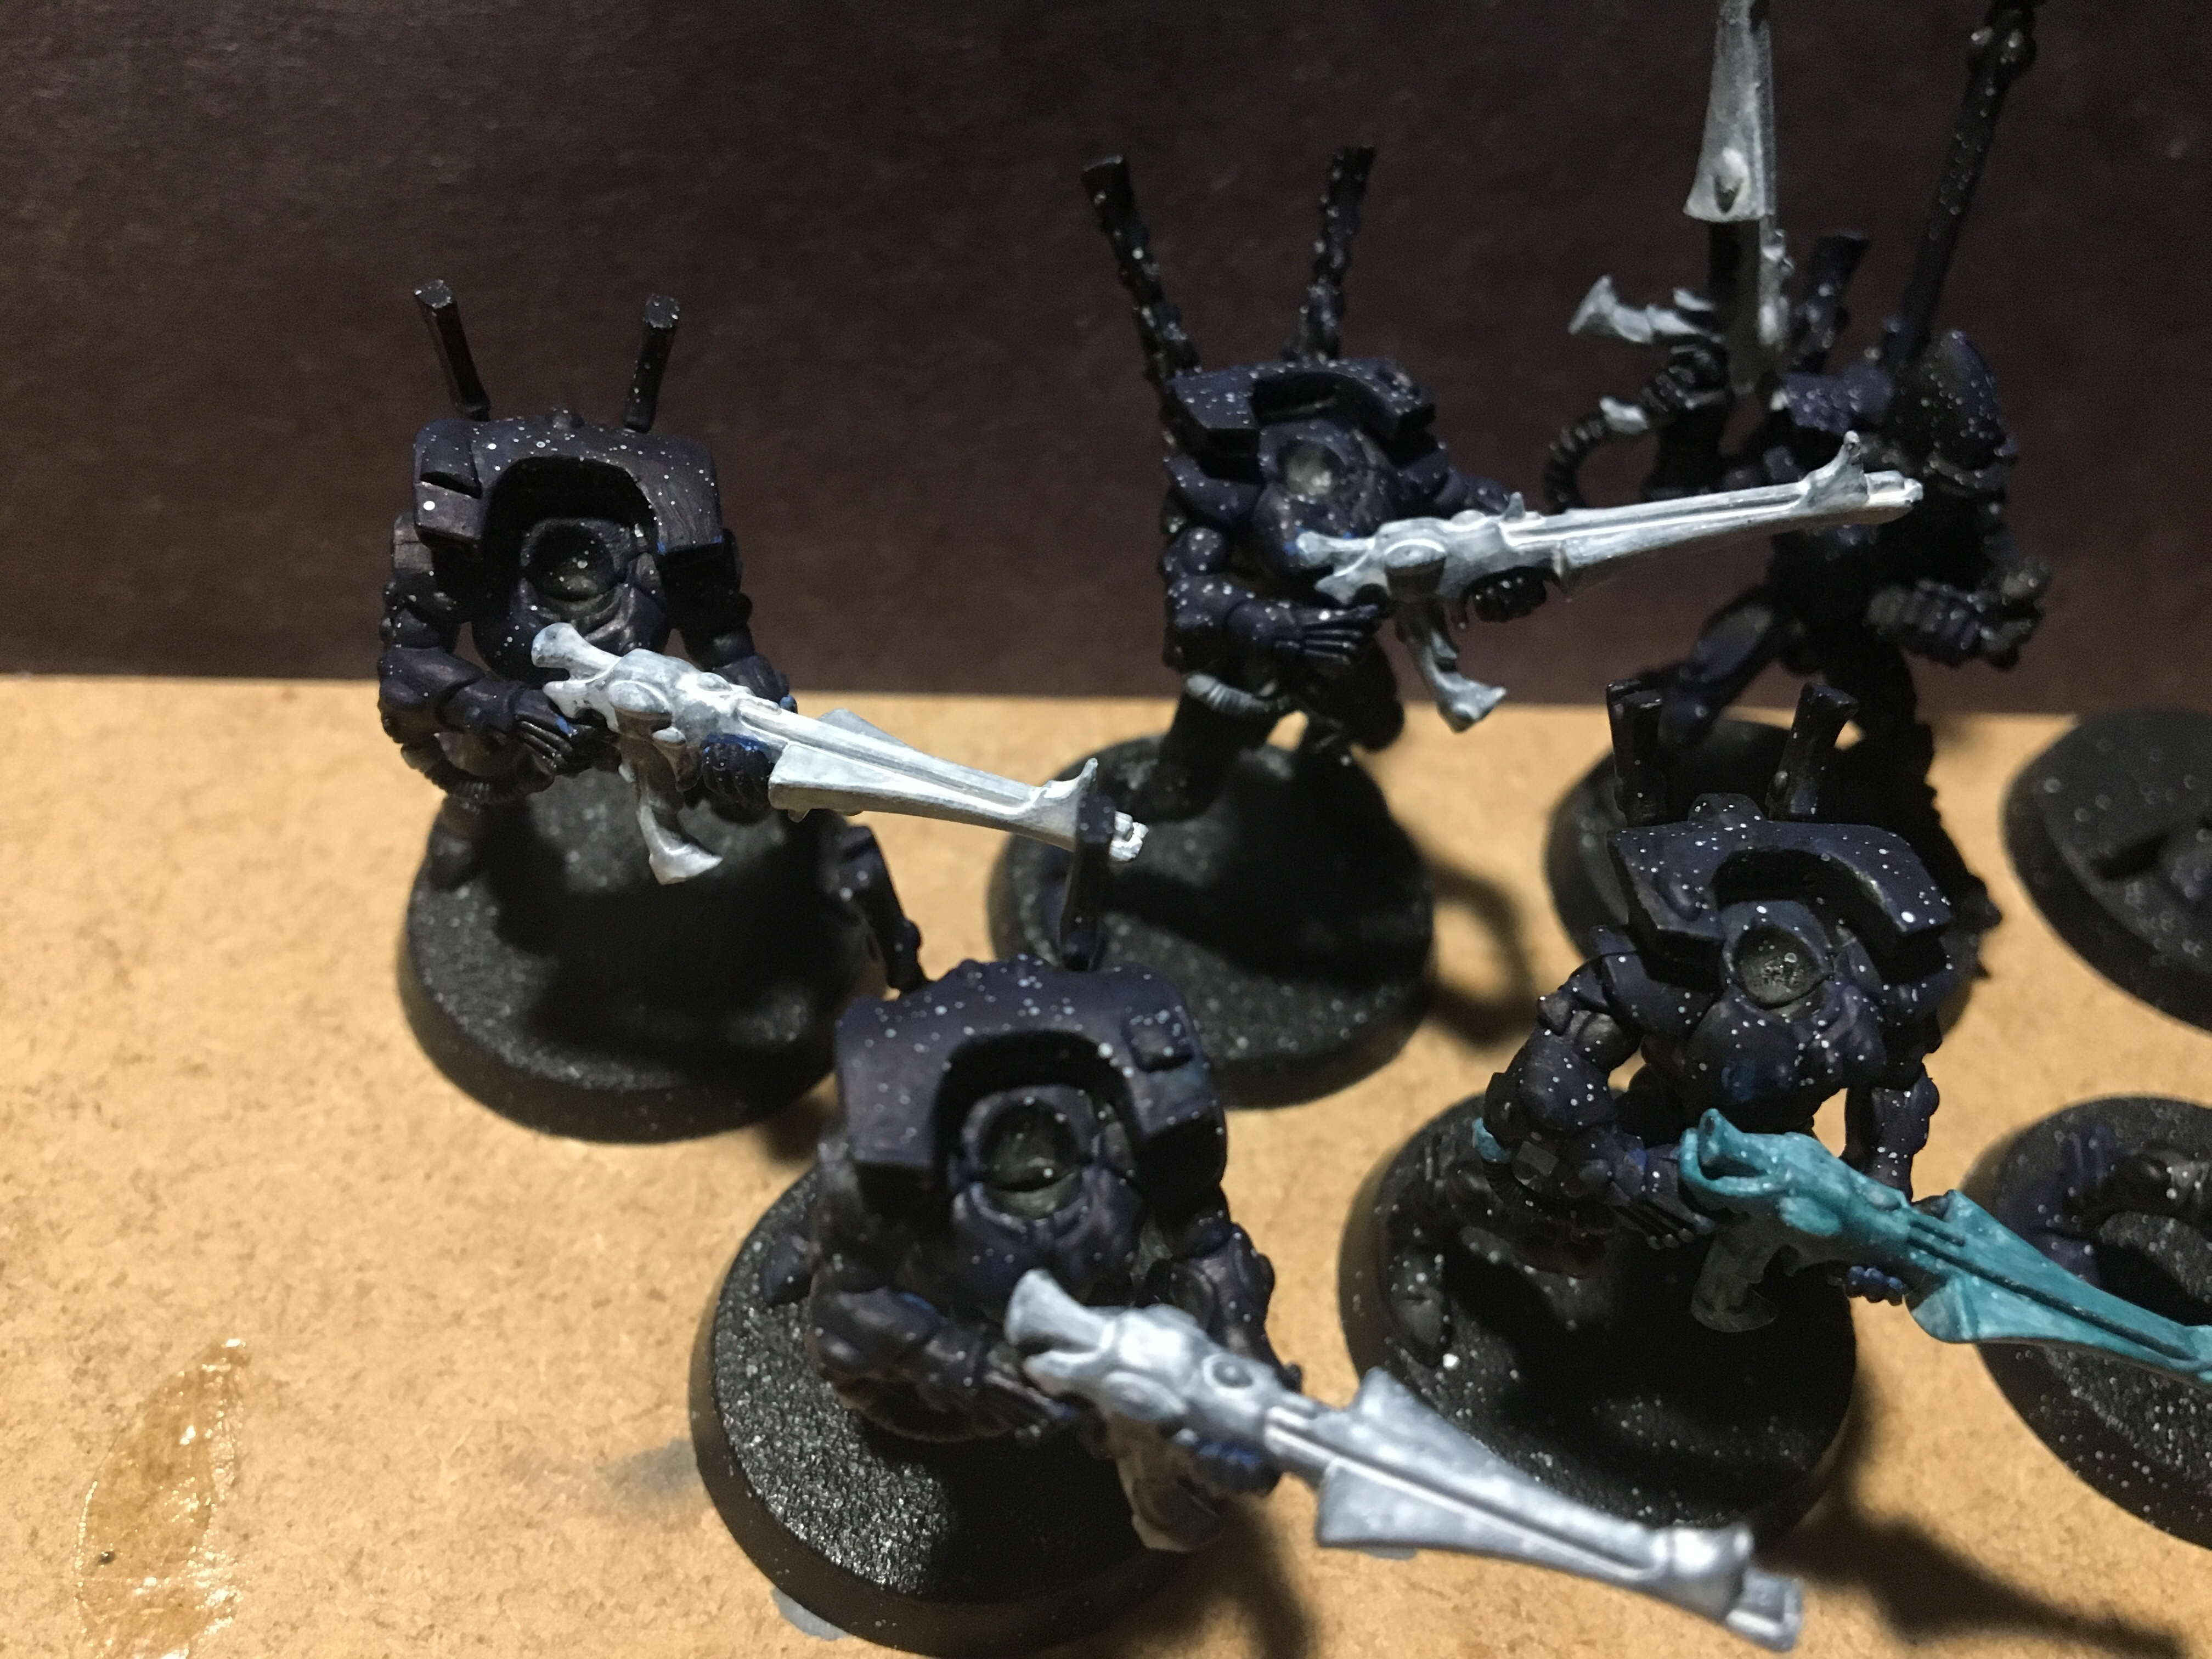
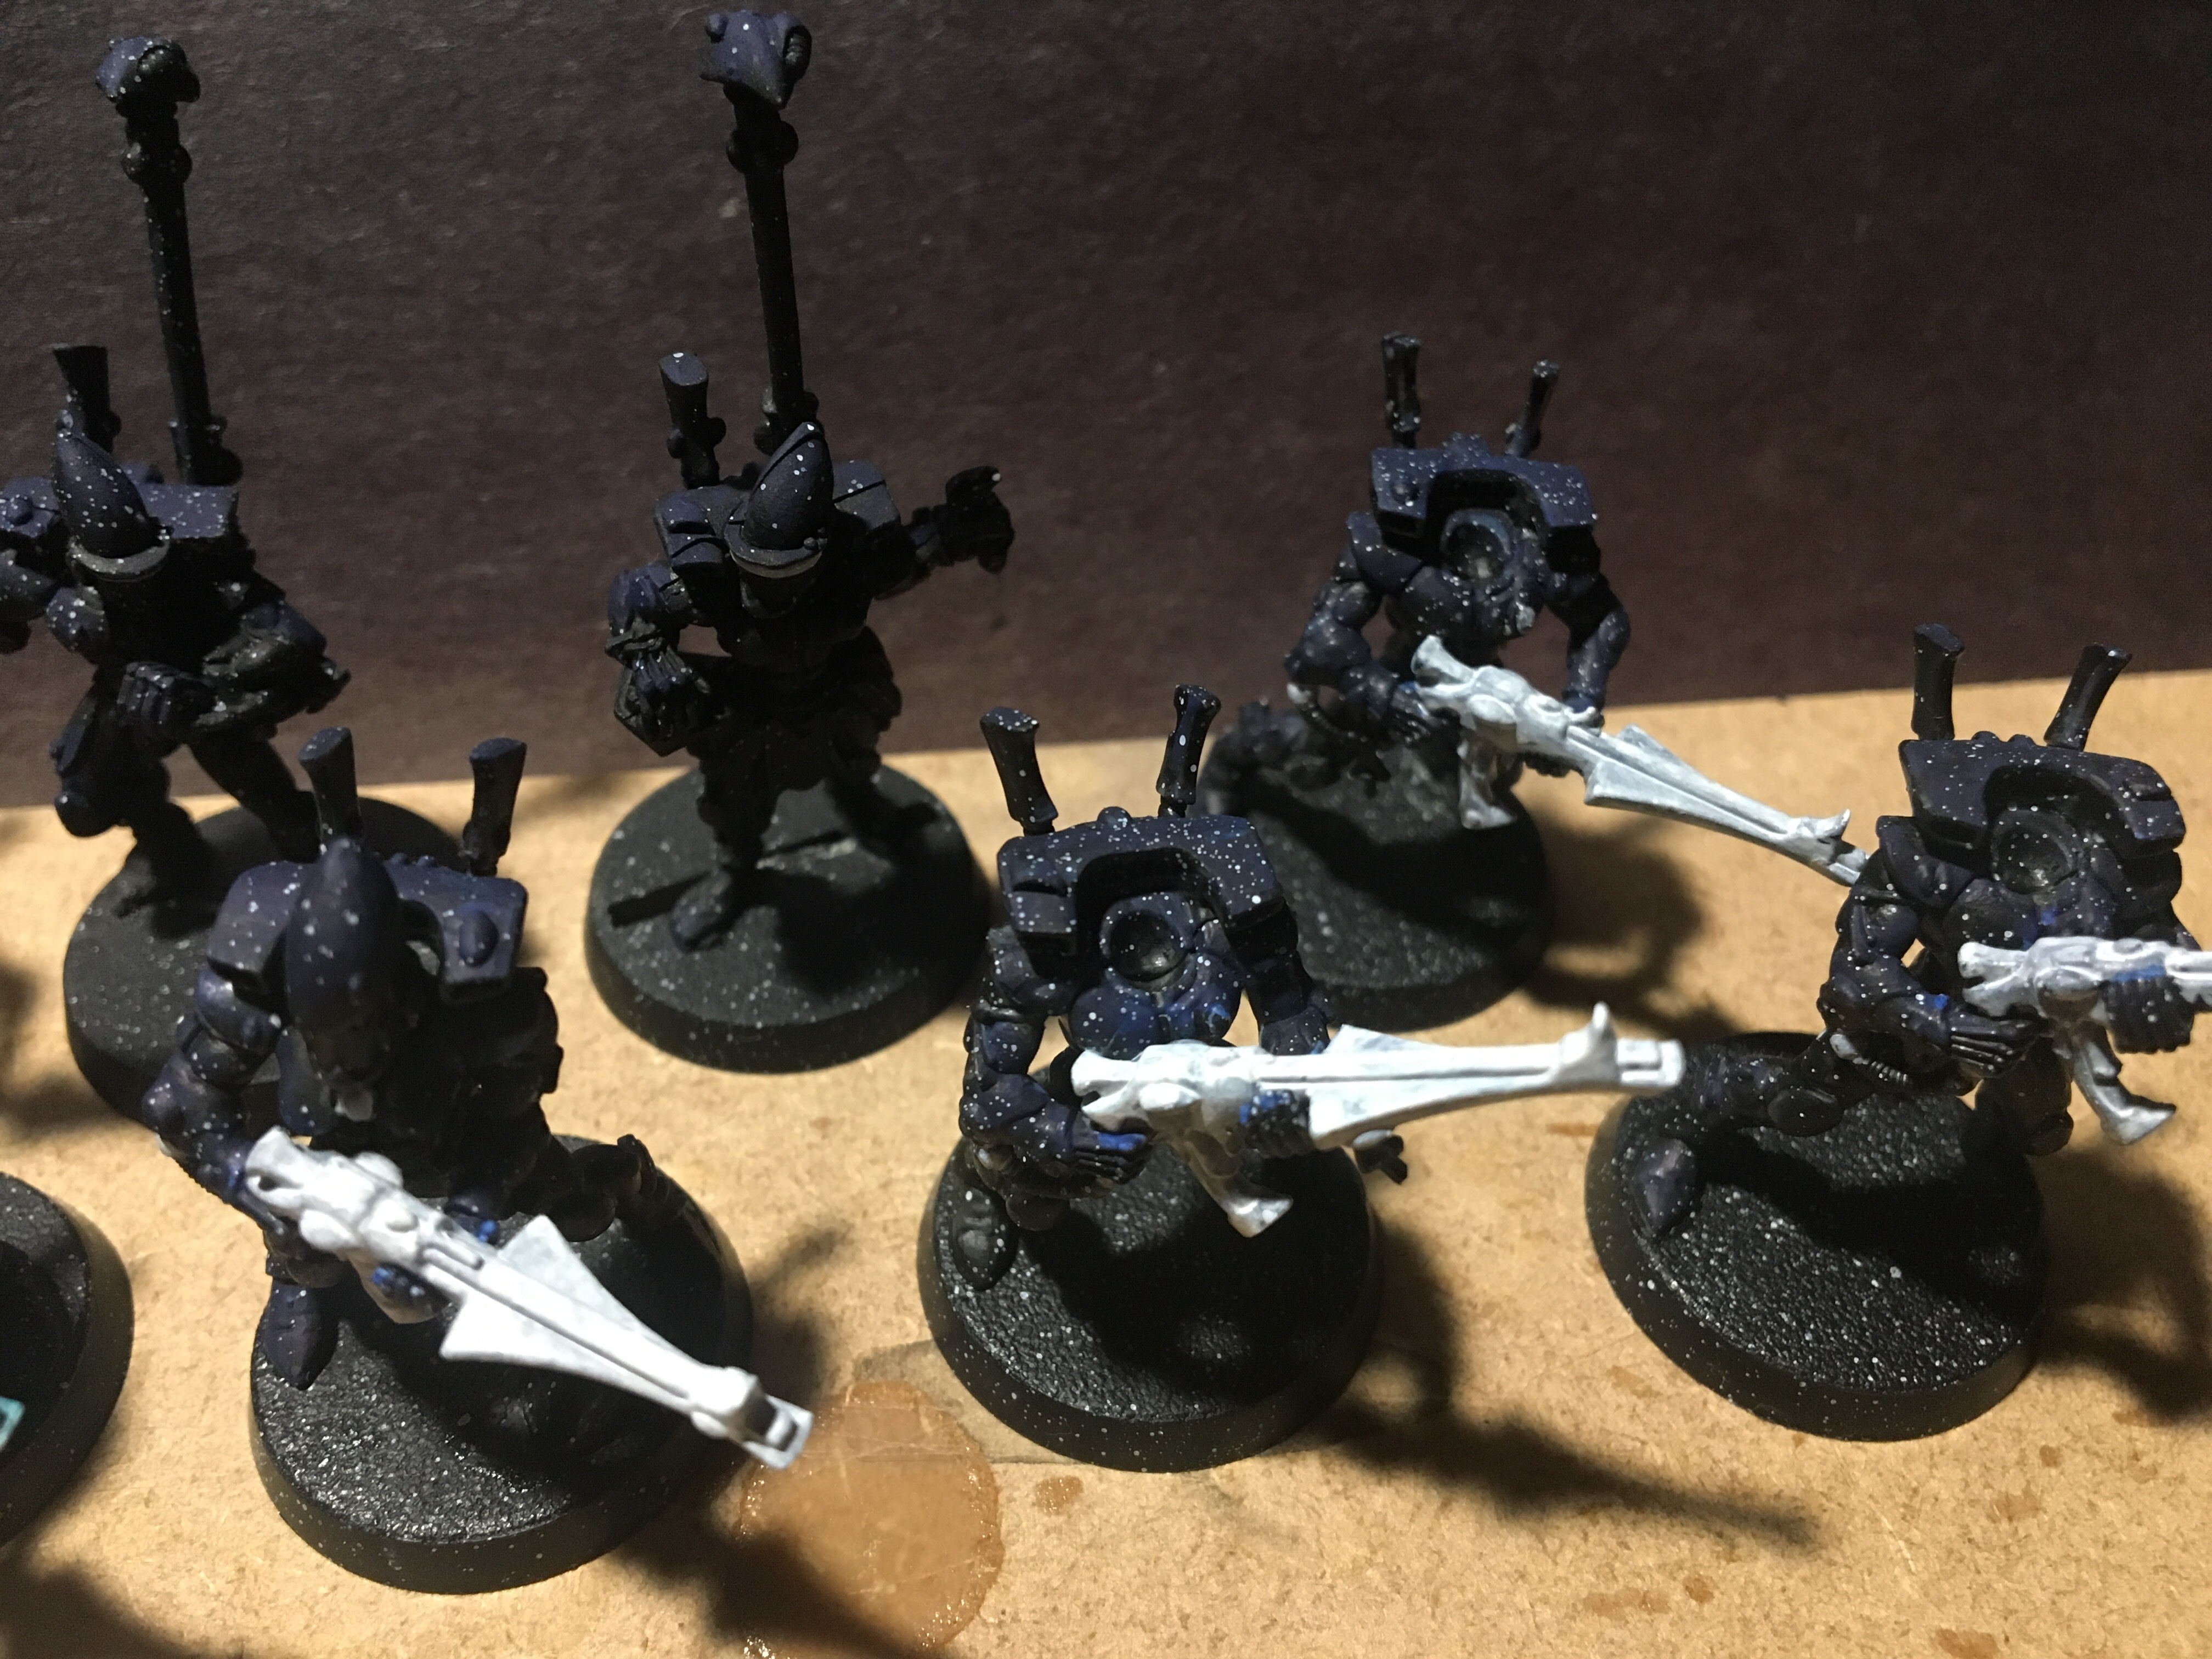
This here is some old school paint layering in three steps.

Step one: prime black

Step two: base coat dark purple (I used Vallejo Model Color’s Royal Purple) but LEAVE the darkest recesses black

Step 3: highlight with lighter purple and leave some of the under purple showing in the recesses along with the black

For those who don’t have two shades of purple lying around, I can help.

To get my highlight color I mixed my royal purple with caucasian skin tone (I used Vallejo Model Color’s Flat Flesh)

You heard me right, I didn’t use pure white!

All credit to Youtuber Vince Venturella’s video exploring the color purple for giving me the idea to use a skin tone to mix my highlight. He breaks it down eloquently on a theory level in his demonstration but I can testify to it giving me results I like.

The paints

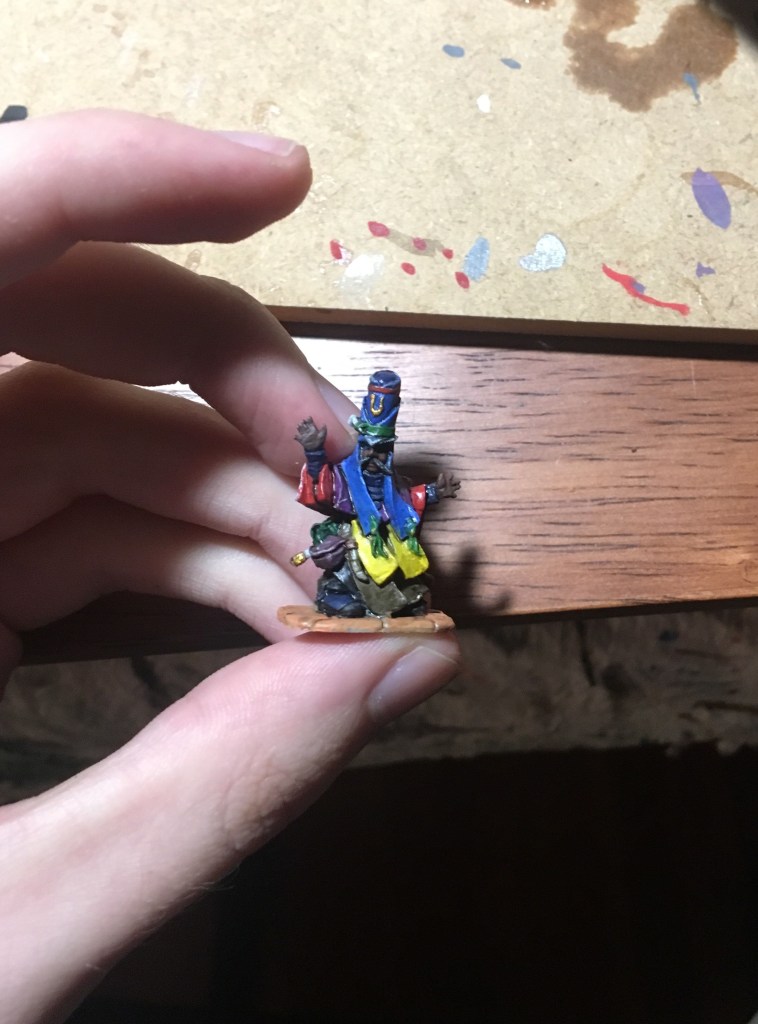
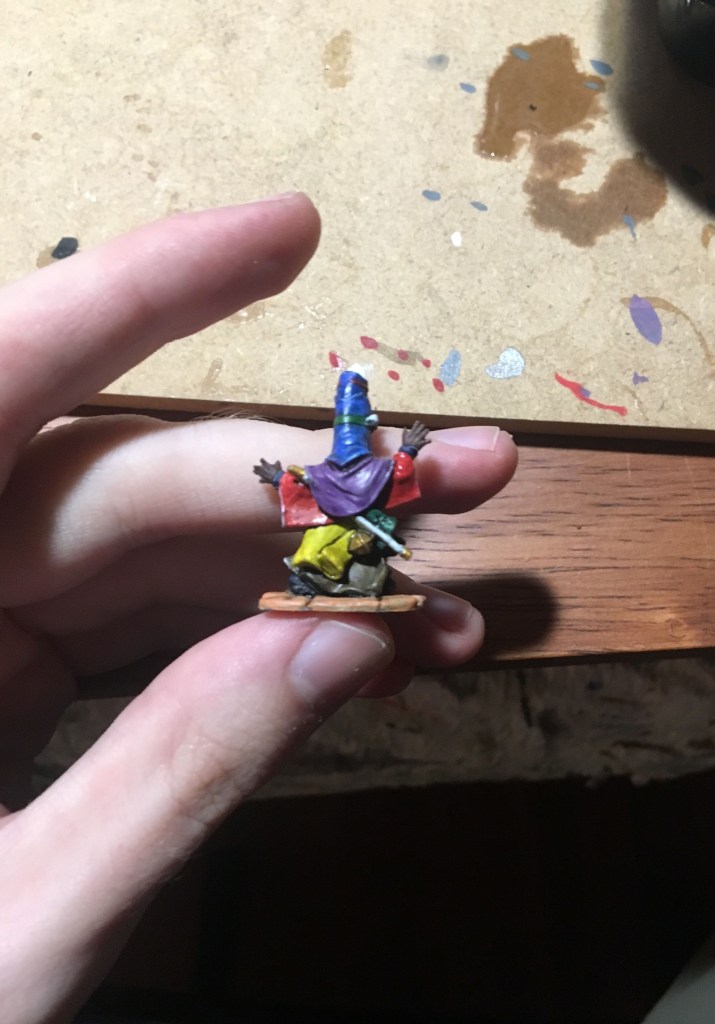
And here’s a bonus picture of a guardian I drybrushed with my purple highlight:

Tune in next time to see if I keep drybrushing even lighter layers of purple???

#hobbystreak

Highlighting practice with white

I added back white along the edges of the arrow feathers to add contrast between those highlights and the shaded recesses I darkened with my wash.

The arrow feathers were great practice to learn on since they had clear raised edges. I knew I had the right consistency of paint on my beush when I could drag it over those edges and only leave paint on the top and leave no drips into the recesses.

As has become a custom for me now, I used flow aid with my white to get it smooth.

I also put some white on my lizardman, coloring in his teeth and nails:

I did the toenails first and they ended up the messiest. By the time I got to the teeth I had figured out how to paint more precise.

#hobbystreak

How to make a basic starry night effect with splatter paint (on eldar guardians)

The squad post splatter paint
Close up #1
Close up #2

Tools needed: white, black and navy blue paint, flow aid, an old toothbrush, a palette, and some water. Plus somewhere to set up your models for splatter painting where you wont make a mess.

Flow aid can be subbed out for dish soap, allegedly, I haven’t tried that myself.

The plan: base coat the models with black primer and then some navy highlights on raised areas. Then mix up white paint with a drop if flow aid and a drop of water. Get that onto the bristles of your toothbrush. Flick the paint off the brush at your models. Voila, you’ve done it!

I chose to mount my models on a piece of wood and bring them out side for splatter time.

You can go as hard as you want with the splattering to get more or less stars. I went kinda light this time to be cautious.

To take it another step further into experimental territory though, I added some drybrushing after the splatter paint onto one model as a test.

I tried a two tone drybrush scheme: dark blue on the left and purple on the right. The muted tones gave subtle results.

I want to try adding more drybrush layers of lighter colors in here to see if that gives me a more interesting look. And after that another round of splatter stars since the drybrushing covered up some of my original ones.

Bye, hope this inspires you.

#hobbystreak

Trying out diy black wash

Magician post wash.

This proved to be another case of learning how to use the wash. In some cases it did its job extremely well, that is, turning recesses black, but in others it merely tinted them grey.

A complication with this mini is that some of the recesses are very slight and so it takes finesse to get the wash targeted into only that recess. To compensate for this I think I will try putting a bunch of wash on and then painting over whatever gets onto the surrounding areas.

In some places where the wash worked I found the effect undesirable. On the yellow fabric folds in the back for instance, I think a brown wash would have gotten me a better look:

A little too over dramatic of a shadow methinks

Also in the works today:

#hobbystreak