Building dark eldar/drukhari wyches part 4: halfway done magnetizing

Say hello to a fully halfway done squad – all magnetized and ready for arms.

Got magnets into both sides of each torso, including the succubus who is shown here with her head and trophy mount glued on and some magnetized arms on her.

They grow up so fast

Where did I get the magnets? Ebay. Got 100 for under $10 shipped if memory serves. This project alone will eat up at least 28 when I’ve done all the arms and special weapon options.

RIP my fingerprints (all the super glue users know).

And RIP my back from hunching over these little delights every day. I hear yoga might have the answers I seek.

#hobbystreak

Building eldar guardians 3rd part

I added backpack antennae onto eight models and prepped some heads for priming.

Glue efficiency moves I used today: I applied a glob of glue in the socket of one antenna. Then I dipped the antenna for the other side in to get it sticky and applied it. I could attach the other antenna with what was left in its socket.

My other efficiency move was to breathe onto the antennae beforegluing them to speed up the glue bonding. Super glue, or CA glue needs moisture to turn solid. So breathing onto a part out of your mouth, same as you would to warm your hands in winter, gets moisture on the part and helps the glue bond. This helps when it would be too burdensome to get out a legit glue drying accelerator chemical to apply. The accelerator works quicker than the breath technique but sometimes reaching for the accelerator means letting your parts slip out of position. The accelerator can lead to frustration if you accidentally apply it too soon and your parts get frozen out of position.

#hobbystreak

Reminder: knives are sharp

Drew blood today while cleaning up parts for my succubus. Biggest cut yet, this one made a little mess on the model and my fingers before I put a bandaid on it (or a plaster as they say across the pond… my hobby confession is that my inner voice gets extra british when playing with Warhammer models. Some of the game rules are written in such a british way that to make sense of them it helps me to immerse myself into the b r i t i s h mindset. Like, instead of “health,” models have “wounds.” Most British thing I’ve ever heard of since the tower of london).

Makes me wonder if the off brand xacto blades I bought might have been a rip off….

But also the succubus is such a spindly piece of work, how can I expect to get a grip and cut it without the knife flying into my fingers once the knife goes through?

Caution’s the word.

As a wise man once told me: “Slow is pro.”

And now let me dismount my soap box.

I mean it’s only natural to test the limits on how sloppy we can cut I think for the sake of time.

Which reminds me… covid lockdown has given me plenty of time.

Anyways this post takes inspiration from Youtuber Glass Half Dead who posted about a cut on his fingers gotten in the heat of modelling. If this blog can be of service to a new generation, let it speak on the bad along with the good.

While we’re on the subject of yin and yang, the smell of super glue doesn’t bother me anymore. As a kid I hated the smell so much I rushed my glue jobs in order to get the cap back on as soon as I could.

#hobbystreak

Building dark eldar/drukhari wyches part 3: building the succubus and drilling into the wyches

A succubus is a wych at the top of the wych command structure. The top ranked wych who calls the shots for her band of gladiator/soldiers.

Since this is a creative hobby you can build your succubus to look any way you like, but GW at present sells only one model called a Drukhari Succubus, and it is the same sculpt as the plastic one you see above.

Though the dynamic pose doesn’t leave a ton of room for customization, the arms can be swapped with any other wych and the succubus can carry any wych weapon in game.

Unlike the rest of the wych sculpts, the succubus comes with a snazzy fur piece across her shoulders. And an extra big spike on her left shoulder pauldron. Because in 40k… bigger means better.

Speaking of swapping arms, I made some progress on my vision to magnetize my wyches.

You may beed to squint but those with sharp eyes can see that nearly every one of these ten wyches has a hole drilled in its arm socket.

Why not every wych? As I drilled, some of the torsos broke apart where I had glued them. I stopped drilling the ones that broke and reglued them. Once the glue has had time to set I plan to go back and drill some more.

The pin I included because it is my mvp for fine glue application. If I put down a big glob somewhere, I can spread it into nearby cracks with the pin. The downside? Dried glue cakes onto the end of the pin which needs to get scraped off for the pin to stay accurate. I fear I will dull my knife for no reason if I use it for the scraping even thought is has proven to do so effectively. So I scraped with the back side of the knife and got the job done that way.

The left wych here was my first try. Hence the hole isn’t as well centered as the one on the right. Once I got going I got into a groove where I got consistent results with my drill but the first couple were so shaky I might say screw it and glue that arm instead of magnetizing it.

Notice that the left hole is also wider. As we discussed in the last part of this series, to get the best results I have been ratcheting up the size of my drill bits instead of going right for the bit I want to drill my final hole. The left hole has the final desired width and can take a magnet.

Warning to people magnetizing these minis: they are hollow, so you run the risk of drilling so far the hole has a super deep bottom that a magnet could get lost in. Before I give up on the models I drilled too deep into though, I want to see if shoving some green stuff epoxy putty in before he magnet can stop the magnet from dropping too deep into that torso cavity.

Bonus picture of my super cute paint tin, converted from an old megablocks tin I found. The white circles are from dried glue – I’d put a glob down on the tin and use a pin to dab some on my target. The blank white space is for a freehand job once I feel confident enough to try.

#hobbystreak

Building Dark Eldar/Drukhari Wyches Part 2: Intro to Magnets

With these seven done, all my ten wyches have their torsos and legs built.

My vision for these wyches is to have all their arms get magnetized. By that I mean I want to drill holes into the shoulders and arms and glue magnets into the sockets.

Magnetizing models allows you to swap out their arms for other options, and allows for posing the arms they have on in different ways, giving potential for use in a stop motion video, for instance.

Wyches have a few special weapon options that effect their play in a 40k game. Magnets let me have my models look the part when I try out different weapons in game.

Today I succeeded in planting a magnet in one of the wych arms!

To get to this point, I drilled with three different drill bits. I went from small to big each time I swapped bits. For reasons beyond my understanding, going straight to the final drill size you want doesn’t always work, but gradually scaling your drill up to your final size works like a charm.

Be careful when you glue your magnets though, mine in the arm accidentally went in a little crooked. Time will tell how much that will matter in the long run.

I followed this video guide to learn magnetizing (I watched others too but I feel this one broke it down in the way I follow most closely). As in the video, I used magnets that were 1/16″x1/32″.

#hobbystreak

Experiment with glazing (and filling in gaps in the primer on some minis)

Remember the Guardians whose guns we painted white? The left one is the result of me glazing a custom turquoise blend over the white.

I made the blend from a dark blue and a bright green paint mixed with a toothpick. Vallejo model color Dark Blue and Reaper Naga Green if memory serves, I did mix this the other day after all but could use it today since my wet palette kept the paint wet overnight.

I used the toothpick after hearing that mixing with a brush can hurt the brush and lead to ineffective mixing. Like much internet hearsay, I took this and ran with it with no testing since who has time for that? I figure I already had toothpicks around though and it’s no trouble so why not.

By glazing I mean applying a thin translucent coat of paint. I thinned mine down with water, but many pros use something called “glaze medium” for this. Go look up miniature paint glazing online to learn more, Dana Howl and Miniac have informative videos on the subject.

Since the underlying white was already kind of marbled and the glaze went on kind of uneven, I ended up with an effect that I like where the gun has swirls of color on it like some kind of gemstone. given the lore of the Eldar and their fondness for gems in general (every soldier carries a “soul gem” that captures their spirit should they die. Without the gem their soul would be consumed by a wicked chaos god that put a curse on the eldar species), a gem themed aesthetic choice seems appropriate.

As a side project, I have some Nazgul LoTR minis made of metal that I primed. The primer went on uneven, so I tried to neaten one up today with black paint. I had a hard time as the dang wraith has nooks and crannies all over his rippling black robes.

Blade of his sword broke off and I lost it 😦 not that that would have been an easy repair anyways…

Bye now.

#hobbystreak

Adding navy highlights over black to eldar guardians

So often, mini painting seems to be a game of exaggeration,

Where a full size red coat just has to be dyed red to look right, a miniature red coat made of painted plastic tends to look drab and fake unless you exaggerate the shadows and highlights.

This is a lot like stage makeup for actors in a play.

Believe it or not, almost every actor you see in a professionally run play wears makeup. Why? Because between the bright stage lights and how far away the actors are from the audience, without makeup their faces tend to look washed out. It takes makeup for the faces to look “normal” again from a distance.

So when you see someone who has a wrinkled face in a play, for instance, chances are somebody in the makeup department took the time to draw Oversized wrinkles on the actor using dark makeup, even if the actor already had real wrinkles to start with! Up close these drawn on wrinkles look like clown makeup, but on stage they read as genuine.

So it is in miniature painting. Things look right when you do some exaggeration.

To an untrained eye, these exaggerations might be undetectable if the painter has the skills. But once I know what to look for I find myself able to see past the curtain so to speak and make an educated guess on how the painter created the illusion.

So today’s illusion will be to try and make navy blue/black armor with depth on a guardian squad.

I started with a base coat of black primer and then used Vallejo Model Color’s Dark Prussian Blue on top.

To figure out where to put my blue, a positioned a lamp to shine down from directly above my guardians at a 90 degree angle. This simulates where the sun would hit their armor at high noon. Wherever the lamp lit up, I added blue. Wherever the lamp left a shadow, I left the model black.

And that’s how I achieved the look in the pictures! Not that the pictures quite do it justice. 😦 Maybe its time to upgrade from my camera phone and whatever crap lighting I have at my desk….

Pretty simple paint strategy though I think, subtle result, but I like the effect. I didn’t take care to do fancy blends between my navy and black, but rather slapped paint on (after thinning it on a wet palette) and hoped the transition lines wouldn’t look too ugly.

Bye now!

#hobbystreak

Prepping eldar guardian weapons for glazing

Today I engaged in an experiment.

To “glaze” in miniature painting means to coat something in a thin, translucent layer of paint.

I decided that for one squad of eldar guardians I want to try making their guns kind of teal.

Instead of painting a normal base coat of teal over my black primer, however, I want to try glazing teal over a base coat of off-white.

Not sure whether one way looks better than the other since I didnt think this through enough to do a test first. But I went ahead and painted my whole squad’s guns off-white anyways. Kind of.

You see painting any kind of white over pure black can be a fool’s errand. It takes a few layers to completely cover the black which means it can get time consuming.

So rather than commit to a solid coat of off-white, I chose to just coat each gun with one to one and a half layers since I plan on glazing another color on top in the end anyways and the white is there as something to assist that and not as an end in itself. Might look like crap even after the glaze though…

So on this matter I will get scientific and compare the look of one gun painted fully white vs a gun with a weak single coat.

See the more realized white on left and the single coat on the right.

When painting shades of white it helps to use some advanced techniques.

White on its own has a tendency to go chalky and dry out prematurely, making it hard to work with. Taking advice from Youtuber Vince Verturella in his “Hobby Cheating” video on the color white, however, I added some flow aid to my white paint to keep it from drying out.

What is “flow aid,” you ask? It is a paint additive that lowers the surface tension of the paint while also extending the paint’s drying time. If any of those terms make no sense to you, Google’s your friend. I personally use Liquitex brand flow aid, but you can also find comparable products called “flow improvers” or “flow aids” from other brands. I hear you can even use dish soap as a macgyver flow aid. Your mileage may vary.

Wile E. out. Thank you for reading.

#hobbystreak

Base Coating Over Metal & Finding Out Sharpening Knives Takes Skill

A two part episode today. First let’s talk about painting over metal

15 years ago I painted metal minis without primer and got a product with tons of tiny holes in my paint job where metal shone through. Lacking confidence in my detailing abilities, I left those minis alone and never finished covering the underlying metal.

Now that I have tried painting metal minis again in 2020, I have some sympathy for 15 years ago me.

Metal seems to have a way of repelling my brush on primer in a way that plastic does not. Or maybe the gaps in my primer look worse on metal than on grey plastic so I notice them more and in fact the primer covers both materials the same. I use Vallejo’s polyurethane black surface primer. From searching around the internet for answers, as is my habit, I found some forum posts saying that for metals I’d be better off using something like an enamel based primer. My plan now is to see if I can get away with the polyurethane though.

Anyways, today I did not use that primer, but instead I used a normal black paint from Reaper. This paint came with a box of paints from the Reaper webstore called the covid “survival” kit which also came with brushes and assorted minis, all at a discount. Overall I think the box was a worthwhile purchase. The minis have mostly become test models for me while the paints I mostly like besides the two metallics (gold and silver).

I used my black paint to fill in the cracks on two metal eldar guardians I got used:

Here they are after my touch ups. I forgot to take a before picture or else I would’ve.

They needed touching up because in several places the underlying metal showed through the black paint they already had on them. They had a surprising amount of nooks and crannies that wanted painting so I took care to scan them head to toe as I painted.

These guys have special helmets, backpacks, and tools in their hands because they man a piece of hovering, movable artillery called a heavy weapons platform. All the plastic guardians I have only carry rifles and come with no other options of things to put in their hands. Somebody more studied than me in GW history could tell you when these models were in print but they aren’t sold by GW’s webstore anymore. I would rather not dig for that information myself since last time I tried to date some old GW minis I had a tough time finding resources. Heck I couldn’t even find an image on Google of the old bases on their x-sprues so I had to upload my own.

Anyways, these touch ups were about it for me paint-wise today. I gave much attention today to my new toy: the knife sharpening stone.

Also known as a whetstone, this bad boy has two different roughnesses ( color coded in differernt shades of grey above) and comes with surprisingly few instructions given how complicated knife sharpening can be.

After trying in vain to sharpen my Xacto on the dry stone, copying the guy from this video, I went digging for more resources and found myself in a rabbit hole of knife sharpening youtube tutorials.

I found this dude’s channel where I heard that my stone should only be used with knife oil or water. So I got the stone wet under the sink and went to town.

But then I heard him recommend that I soak the stone for 15 minutes first, so I did that. Still felt like my sharpening wasn’t working.

And then I heard that the key to success lay in consistency with your angle when you pulled the blade over the stone. And at that point I gave up since after I tried my best to get a consistent angle I had failed, or worse, I had not recognized my successes and then overrode them with mistakes.

So lesson learned, knife sharpening takes some skill and at present I lack that skill.

Wile E. signing out.

#hobbystreak

Building Dark Eldar Wyches (Drukhari) Part 1

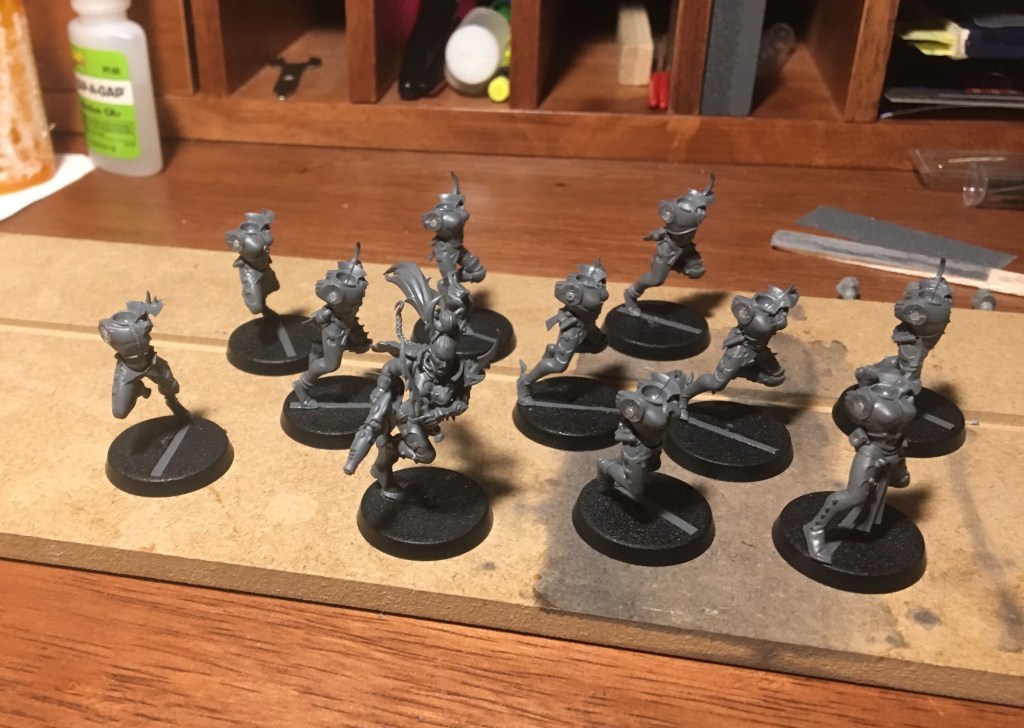
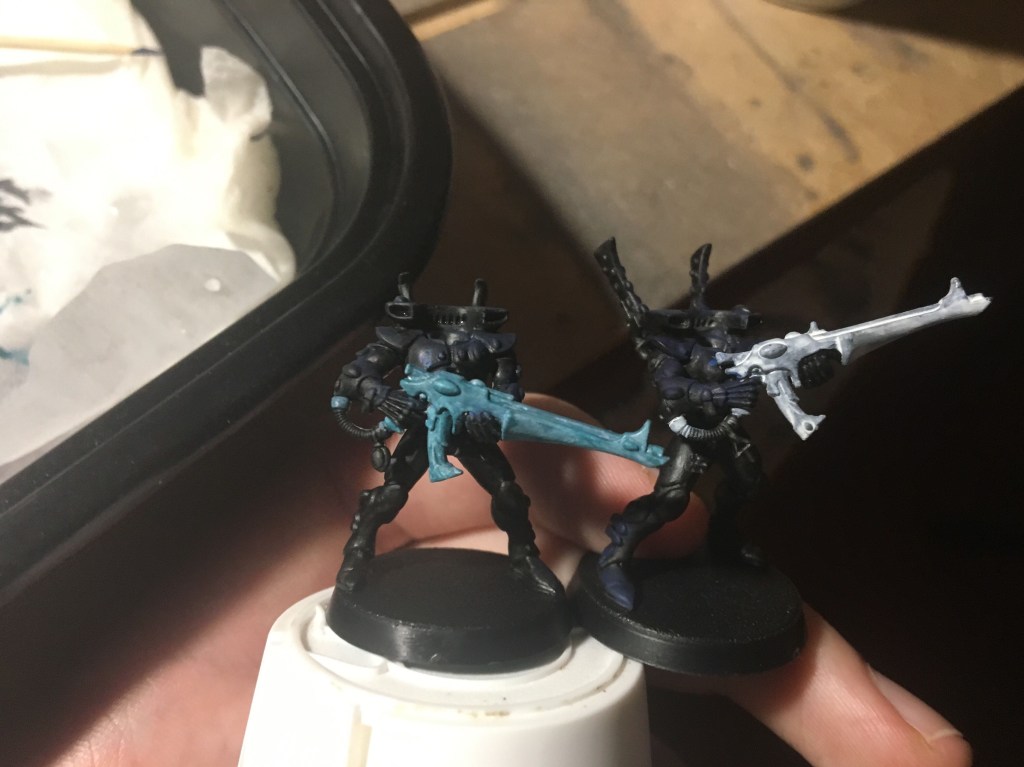
Let’s begin with something I forgot when I built my guardians: wash the sprues!

I put my Wych sprues and bases into the sink with some warm soapy water and gave them a light scrub with an old toothbrush.

I hear that cleaning sprues helps ensure that you have gotten rid of any chemicals that might interfere with your painting. The story I’ve heard around the internet and most notably in a GW published book called How to Paint Citadel Miniatures, when sprues are made the molds get covered in something called “mold release agent.” This agent helps prevent the sprues from sticking to the molds so that they can be removed from the molds and boxed for people to buy. The mold release agent can also prevent paint from sticking to plastic properly.

Despite never having washed sprues when I built models 15 years ago, I never noticed any issues with my paint that might have been the doing of mold release agent. And yet I figure why not take all the proper measures I can, especially since cleaning a whole sprue doesn’t take too long. For what it’s worth I didn’t paint a ton of models back then anyways so maybe it was just a matter of time until my lack of sprue washing came to bite me in the tail.

Speaking of these bases though, it confused me to see that these bases that came with the wyches were… inferior to my 15 year old bases???

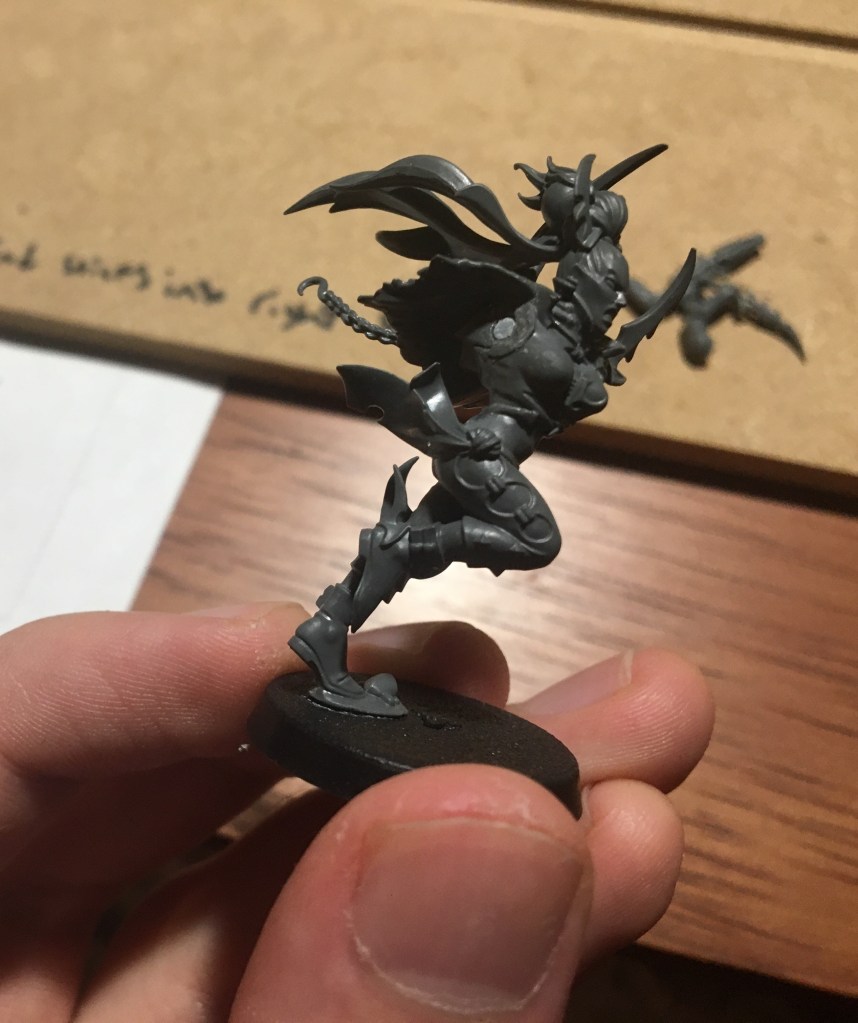
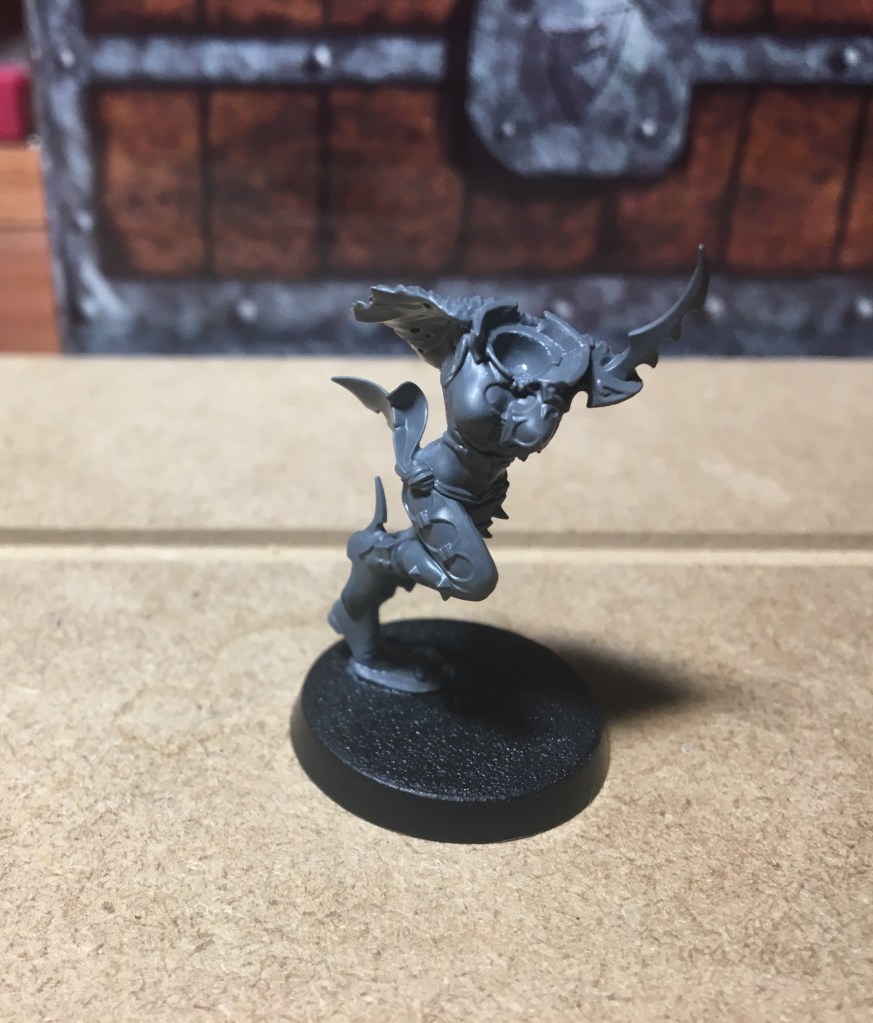
The Wych base is on top and my old base is on the bottom.

As you can see the Wych base – and they all are like this – comes with a dent in the middle of it. And in that dent is a nub where I presume the plastic got poured into the mold.

In my investigation of these differences I noticed that the bottoms of my two styles of bases had different copyright dates:

The Wych base is on top and dated “2005,” whereas the bottom base is dated “1992.”

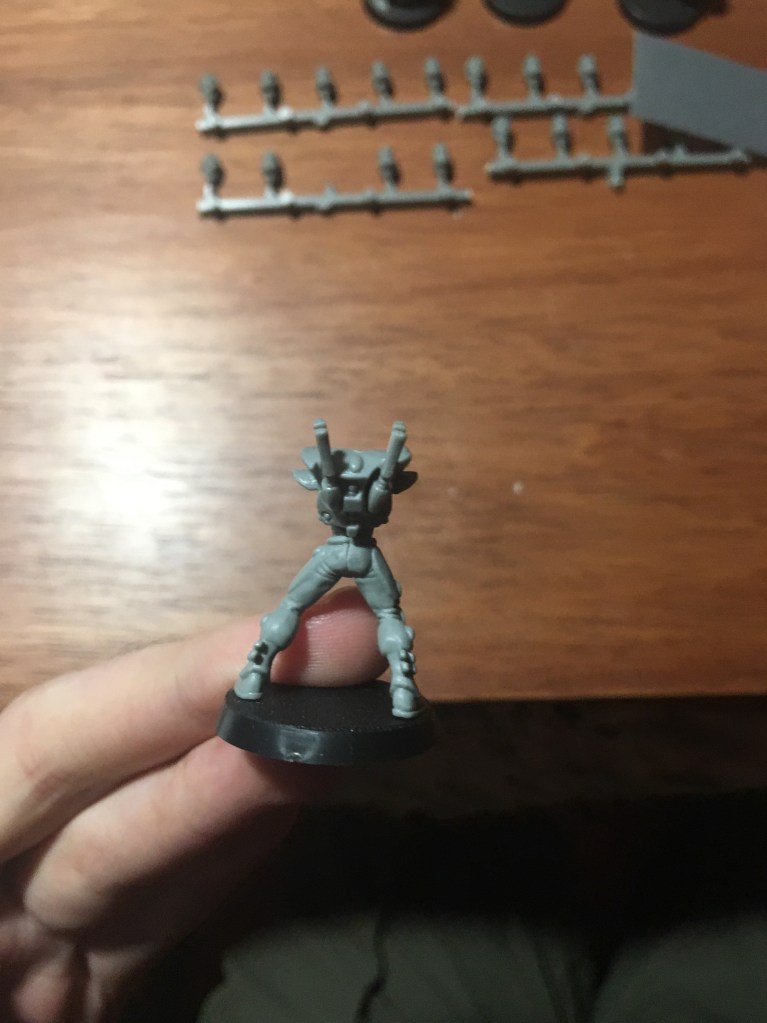
The biggest difference I see here is how each base got made. The ’92 bases came in sets of four on these “X” shaped mini sprues, as pictured here, except this sprue has two of the bases broken off:

Even if you didn’t use a knife or clipper you can twist these things and the bases will eventually pop off the sprue.

Now for people anal about the presentation of their models, I can see why this design might bother them. I have noticed in my time perusing stores with Citadel mini displays and looking through online pictures that while many people like to glue sand, mini grass, and dirt to the tops of their bases, the overwhelming majority of people seem to like the sides of their bases clean. That means a sprue scar on the edge can’t so easily get covered up the way a scar on the top of the base could with the way bases get conventionally done up. If you file or cut off the sprue nub on the ’92 style bases, you probably won’t get your base to have a perfectly circular bottom unless you mess around with putty to fill in the scar and have a deft hand at putty sculpting.

The scar on top 2005 design I think leads to an uglier base right out of the box, but a nicer base than the ’92 design when you put extra base texture ontop of both. In that sense I can see the appeal of the 2005 model.

But the 2005 slot bases I find need trimming at the middle before a model can even fit into the slot, making it more a of a pain for casual modelers than the ’92 base. For someone who doesn’t care about sprucing up their base tops and having perfectly circular base bottoms, the 2005 bases take some knife/clipper work just to be usable where the ’92 bases took none.

So whether one design is better or not comes down I think to the wants of the model owner. The 2005 model seems to favor the artist who likes to make his models look ready for a display case. And the 1992 models seems to favor the guy who could give a crap about fancy basing techniques and just wants to play a game of Warhammer with unpainted models (and a collective gasp could be heard as a chorus of Warhammer snobs bristled at the very suggestion that someone make a habit of playing with unpainted minis).

Since the artist types probably care more about the bases than the unpainted model gamers anyways, I can see why GW would cater to their wants at this crossroads. Plus I think GW enjoys the free marketing they get from people posting awesomely painted GW minis on the internet.

So having thought through this dilemma I have arrived at the opinion that the 2005 bases are better than the 1992 bases. Goes to show why you can’t always trust your kneejerk reactions.

But having done so much knifework these last few days on these bases and on models, I want to keep my knife sharp to avoid injury. I hope anyone who uses a knife knows that a dull blade can be more dangerous than a sharp one. Where a sharp blade might make an even, smooth cut, a dull blade might cut uneven and might need so much pressure put on it to make a cut that once it gets through whatever you were cutting it might go flying and hit you.

Hobby knives come with detachable blades that can be replaced. But I saw online someone show their method of sharpening hobby knives to extend the life of each blade. Let me see if I can try that method and post my results here.

Wile E. out.

#hobbystreak