Highlighting can be so subtle that you need patience to see it, but it can have a significant effect in “popping” out features.
I didn’t take a before picture so bear with me.
I highlighted the lizardman’s skin with yellow. I tried to hit a bunch of the raised features and scales to make them stand out from the brown recess shading I did with my wash.
The scales make this a pain though so I could have spent a lot more time if I got anal about it. But I think the face looks a lot better with the highlighting where it looked too brown filtered before.
I also highlighted the yellow on this ranger’s sleeves while I had the yellow on my palette:
I can see a difference between before and after but I also see much room to grow. Getting the paint to go on even is trickier than I thought. Especially when you have such a small working room. I want to try again with a smaller brush to see how that goes next time.
And here’s a bonus picture of something I did today, painted the base of this magician!
That humble orange took a surprising amount of work and even then I’m not done.
I tried to mix a sandy color but got this orange instead and ran with it. I read in a book that orange plus white equals sand color. So I mixed equal parts yellow red and white. And got a weird salmony pink color I did not expect. Adding more and more yellow I finally got to the above orange and gave up on my sand look.
Now I envision his base as the floor of a palace where he’s come to demonstrate his magic.
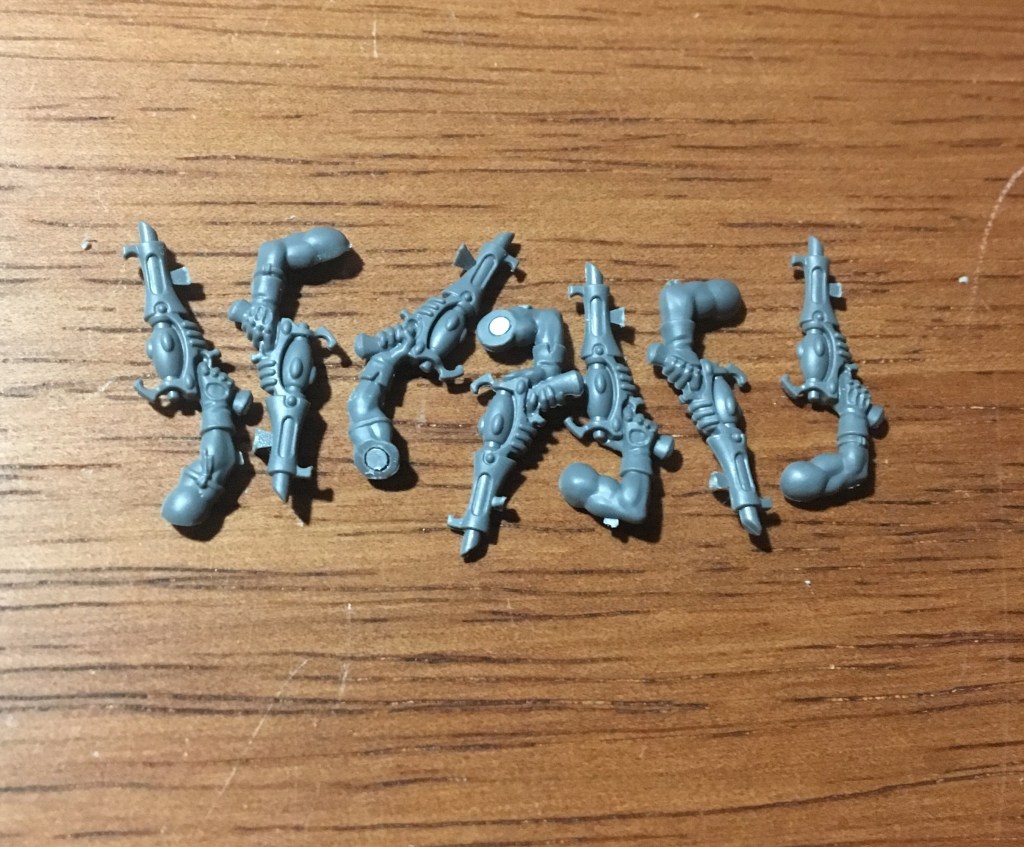
Only have the pistol hands and the special wych weapons to go before all parts but the heads are ready to prime on these wyches. When I say it like that it sounds like an insignificant milestone but I feel good about it. Worthy of a class photo.
So magnets aren’t free. And some parts I want magnetized would be a tight fit for one of my magnets anyways. So for the sake of saving money, I decided to glue bits of magnetizable metal into this round of wych arms instead of magnets.
That’s a fair amount of magnets we can save by using cheap metal for these light arms. I’d say these are the sweet spot weight wise – anything much heavier would get wobbly using the piece of metal method (I think).As you can see, the magnet in the torso can hold up the whole pin, but it droops from the weight. Bits of cut pin can support standard wych arms without droop when they get applied well.
Let me begin the story of today’s experiments with a quality of life hack:
Why a tissue?
Because many of the arms have rows of spikes on them like the one above. And in order to drill the arm you have to grip the arm right where the spikes stab your fingers. Ow. The tissue works as padding to protect my fingers.
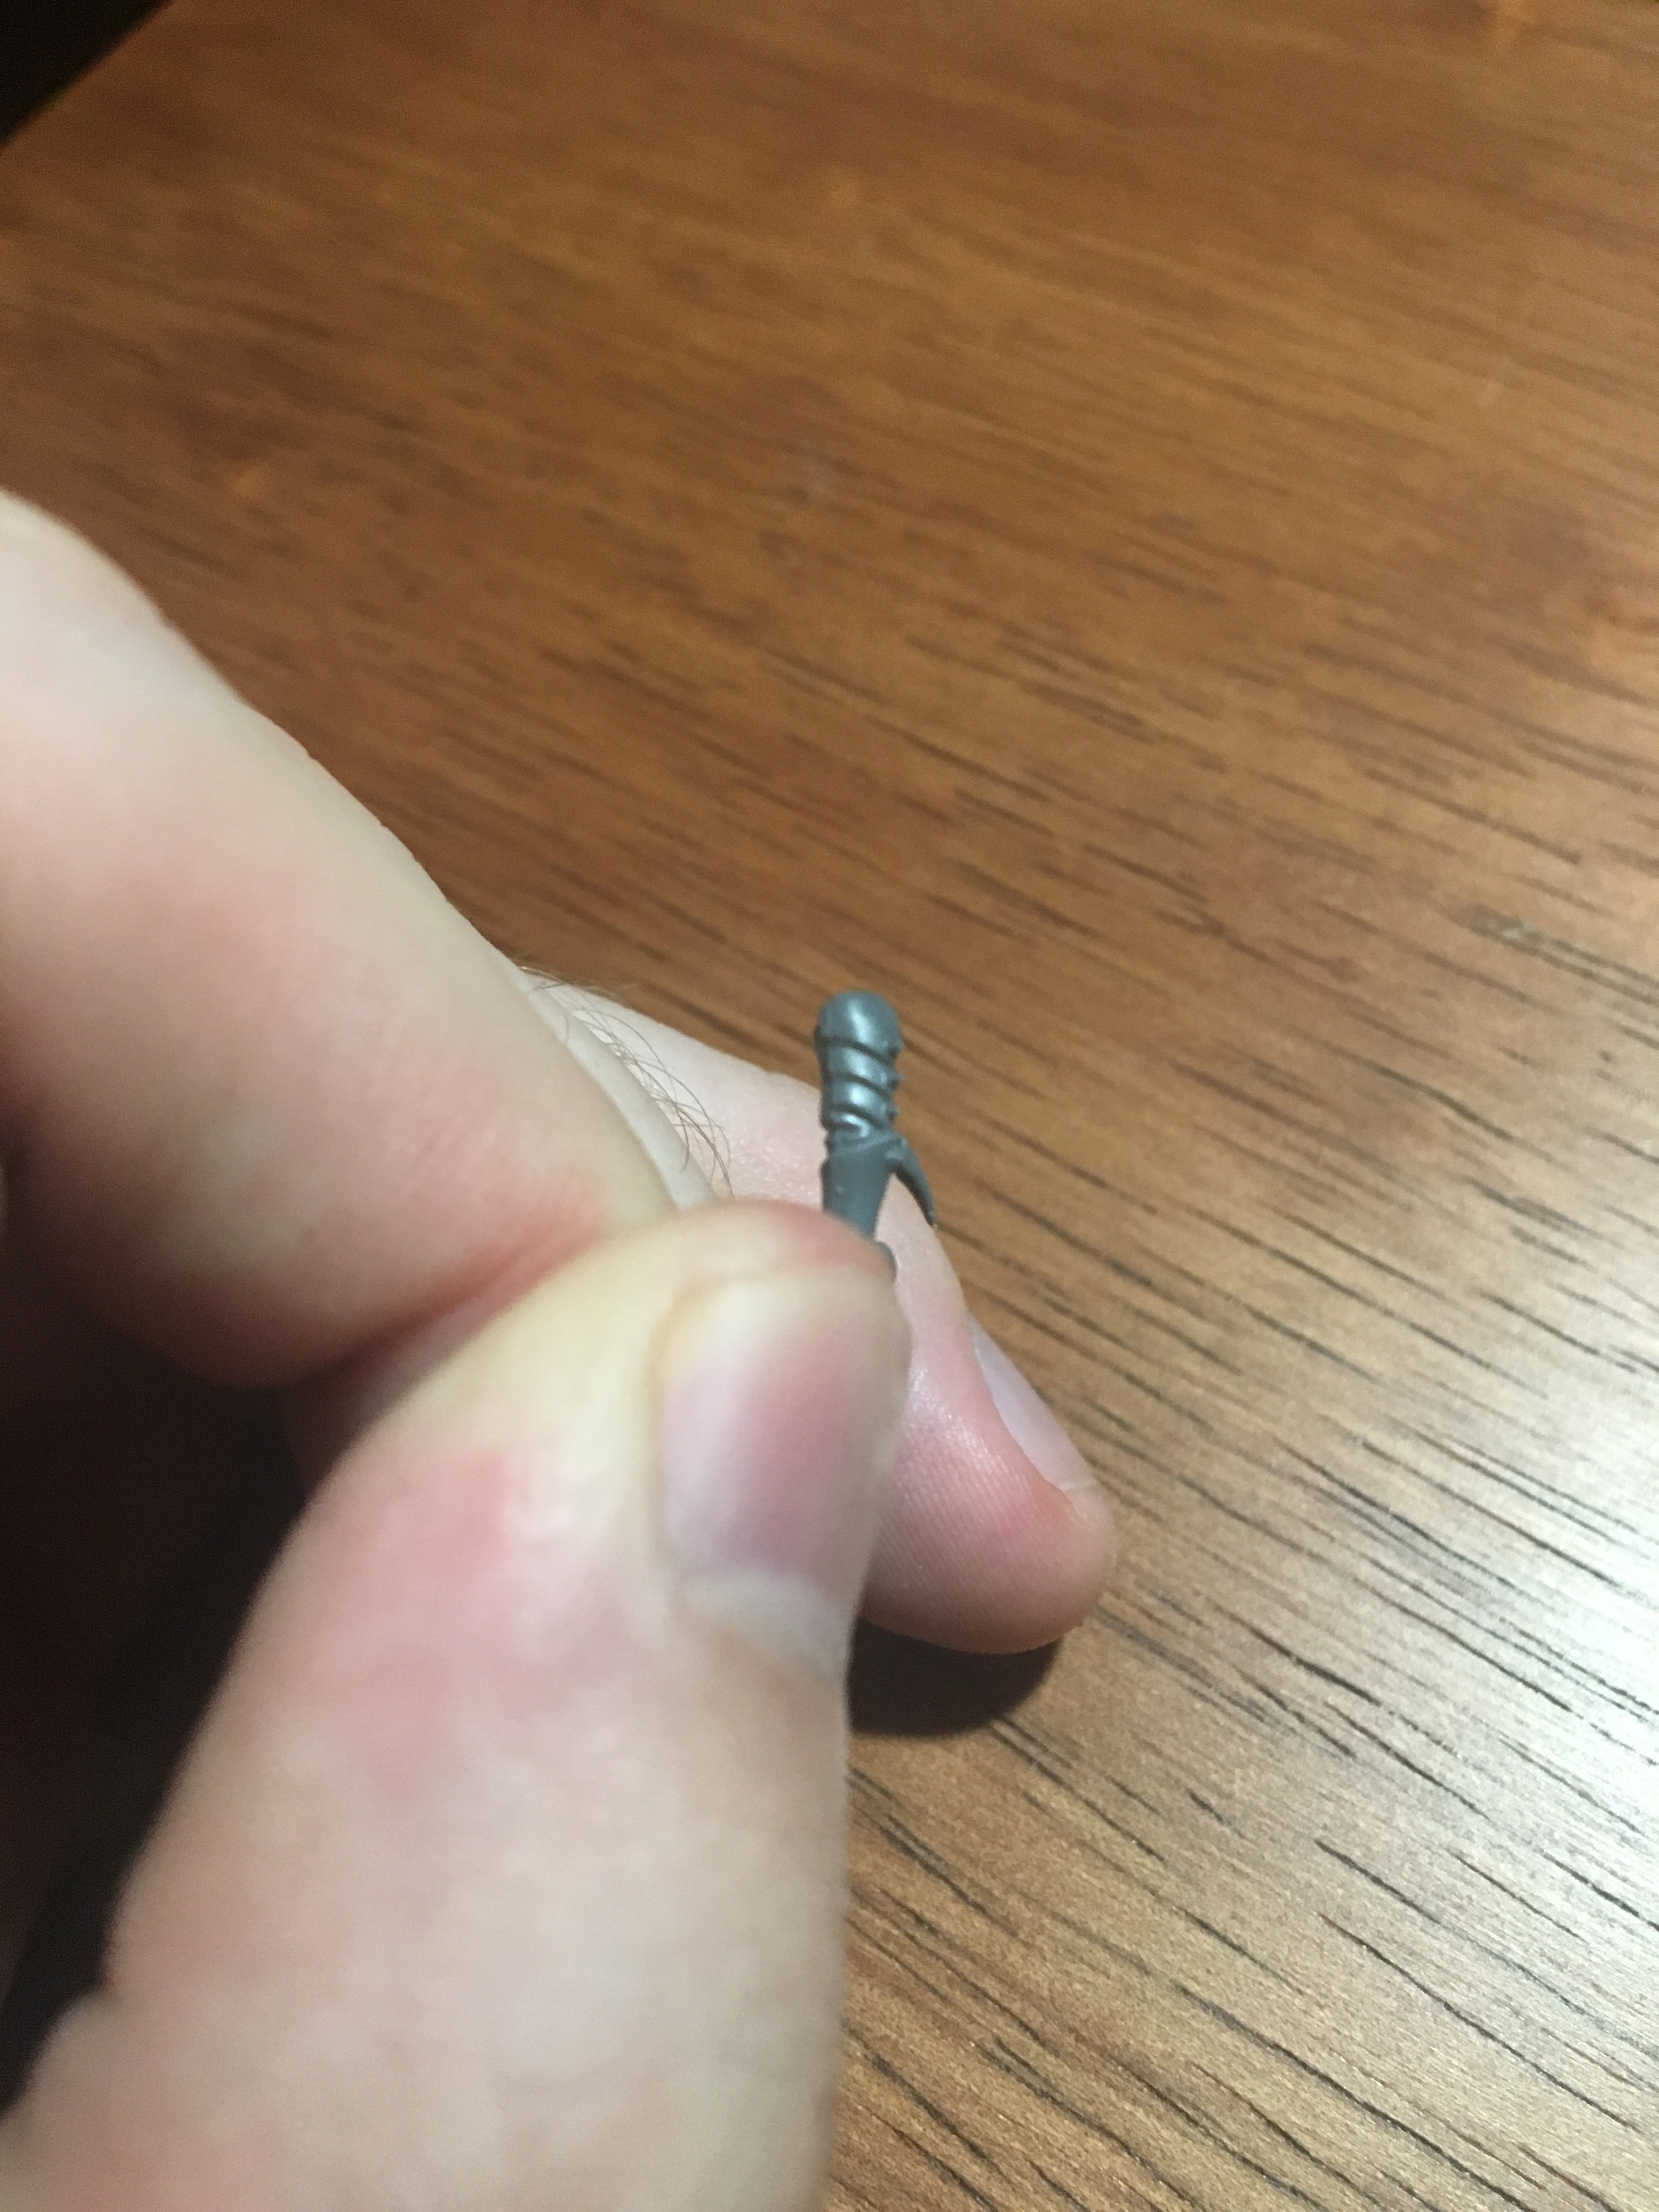
Tissues or toilet paper also work well as cheap padding for your minis in transport.Proof of concept: this gun arm has a bit of sewing pin in it where a magnet might otherwise be. As you can see the torso magnet’s attraction on the pin bit is enough to hold the arm upright.Pin bit in the gun arm visible here.
I had done this gun arm a couple days ago and only now got to work on some of the melee weapon arms.
Tools for today: sewing pin, hand drill, metal cutters for the pin, metal files, and a marker.
My pin and cutters that double as pliers.
Step one is drilling a hole in your arm of choice. Word of caution: it is very possible to accidently drill out the other side as I did to a slight degree with one arm pictured below.
Nothing a little knife work and putty cant fix up to look pretty again… fodder for another post.
I decided to worry about that accident later though and get the pin in anyways. Next step is to stick the in into the socket and mark it so you cut the right length:
The eagle eyed will see that that pin has a sharpie mark on it for measurement purposes. Doesnt have to be flush with the arm to be a helpful reference when cutting.
Next make your cut and be mindful that your bit of pin might go flying if you let it. Point it away from your eyes and wear glasses to be extra safe.
I can put my thumb over that indented cutting area and stop the cut piece from going flying.
At this point be aware that your cut piece is tiny and can easily get dropped and lost. Unlike a magnet it is relatively cheap which makes it hurt less to lose.
But it still makes me feel dumb when I lose it 😥
If you can wrangle the piece into your desired arm hole you are almost there. Once you get a dry fit you’re happy with you can put the dry fit arm onto the magnetized body.
The magnet should draw out the pin bit and hold it in place so you can dab glue on it. Then reapply the arm and hold it until the glue dries at which point you can remove it and viola you have a magnetic arm!
Pin bit in position ready for glue and then arm.
But what about the files you ask. These are for cleaning up mistakes.
Whenever you get more pin sticking out of the arm hole than you want. Use a file to grind it down to where you want it. Note that this can be time consuming but if you go slow and steady you can shave a lot of metal down without the file scratching up the plastic or your fingers (expect mistakes as you get the hang of it though).
I got a set of these files pretty dang cheap at a local art store. They have “diamond” grits which I think is a good thing.
I’d say the added filing time and trial and error made this more time consuming than using magnets but on the other hand I saved drill time by only using my smallest drill bit for the holes.
Now that Ive learned some I think I will continue to use this method for the rest of the arms, using magnets only on the bulkiest ones just to be safe.
Dont mind the odd shadow there thats just my desk ghost, he’s friendly
Sometimes the hardest part of mini painting can be getting ahold of your mini so you can work with it. Introducing the painting handle.
You may have noticed my handle is an empty pill bottle. You can make handles out of whatever you want or you can buy handles with special features that would be hard to replicate through diy crafting.
My humble pill bottle has a couple tricks to it though.
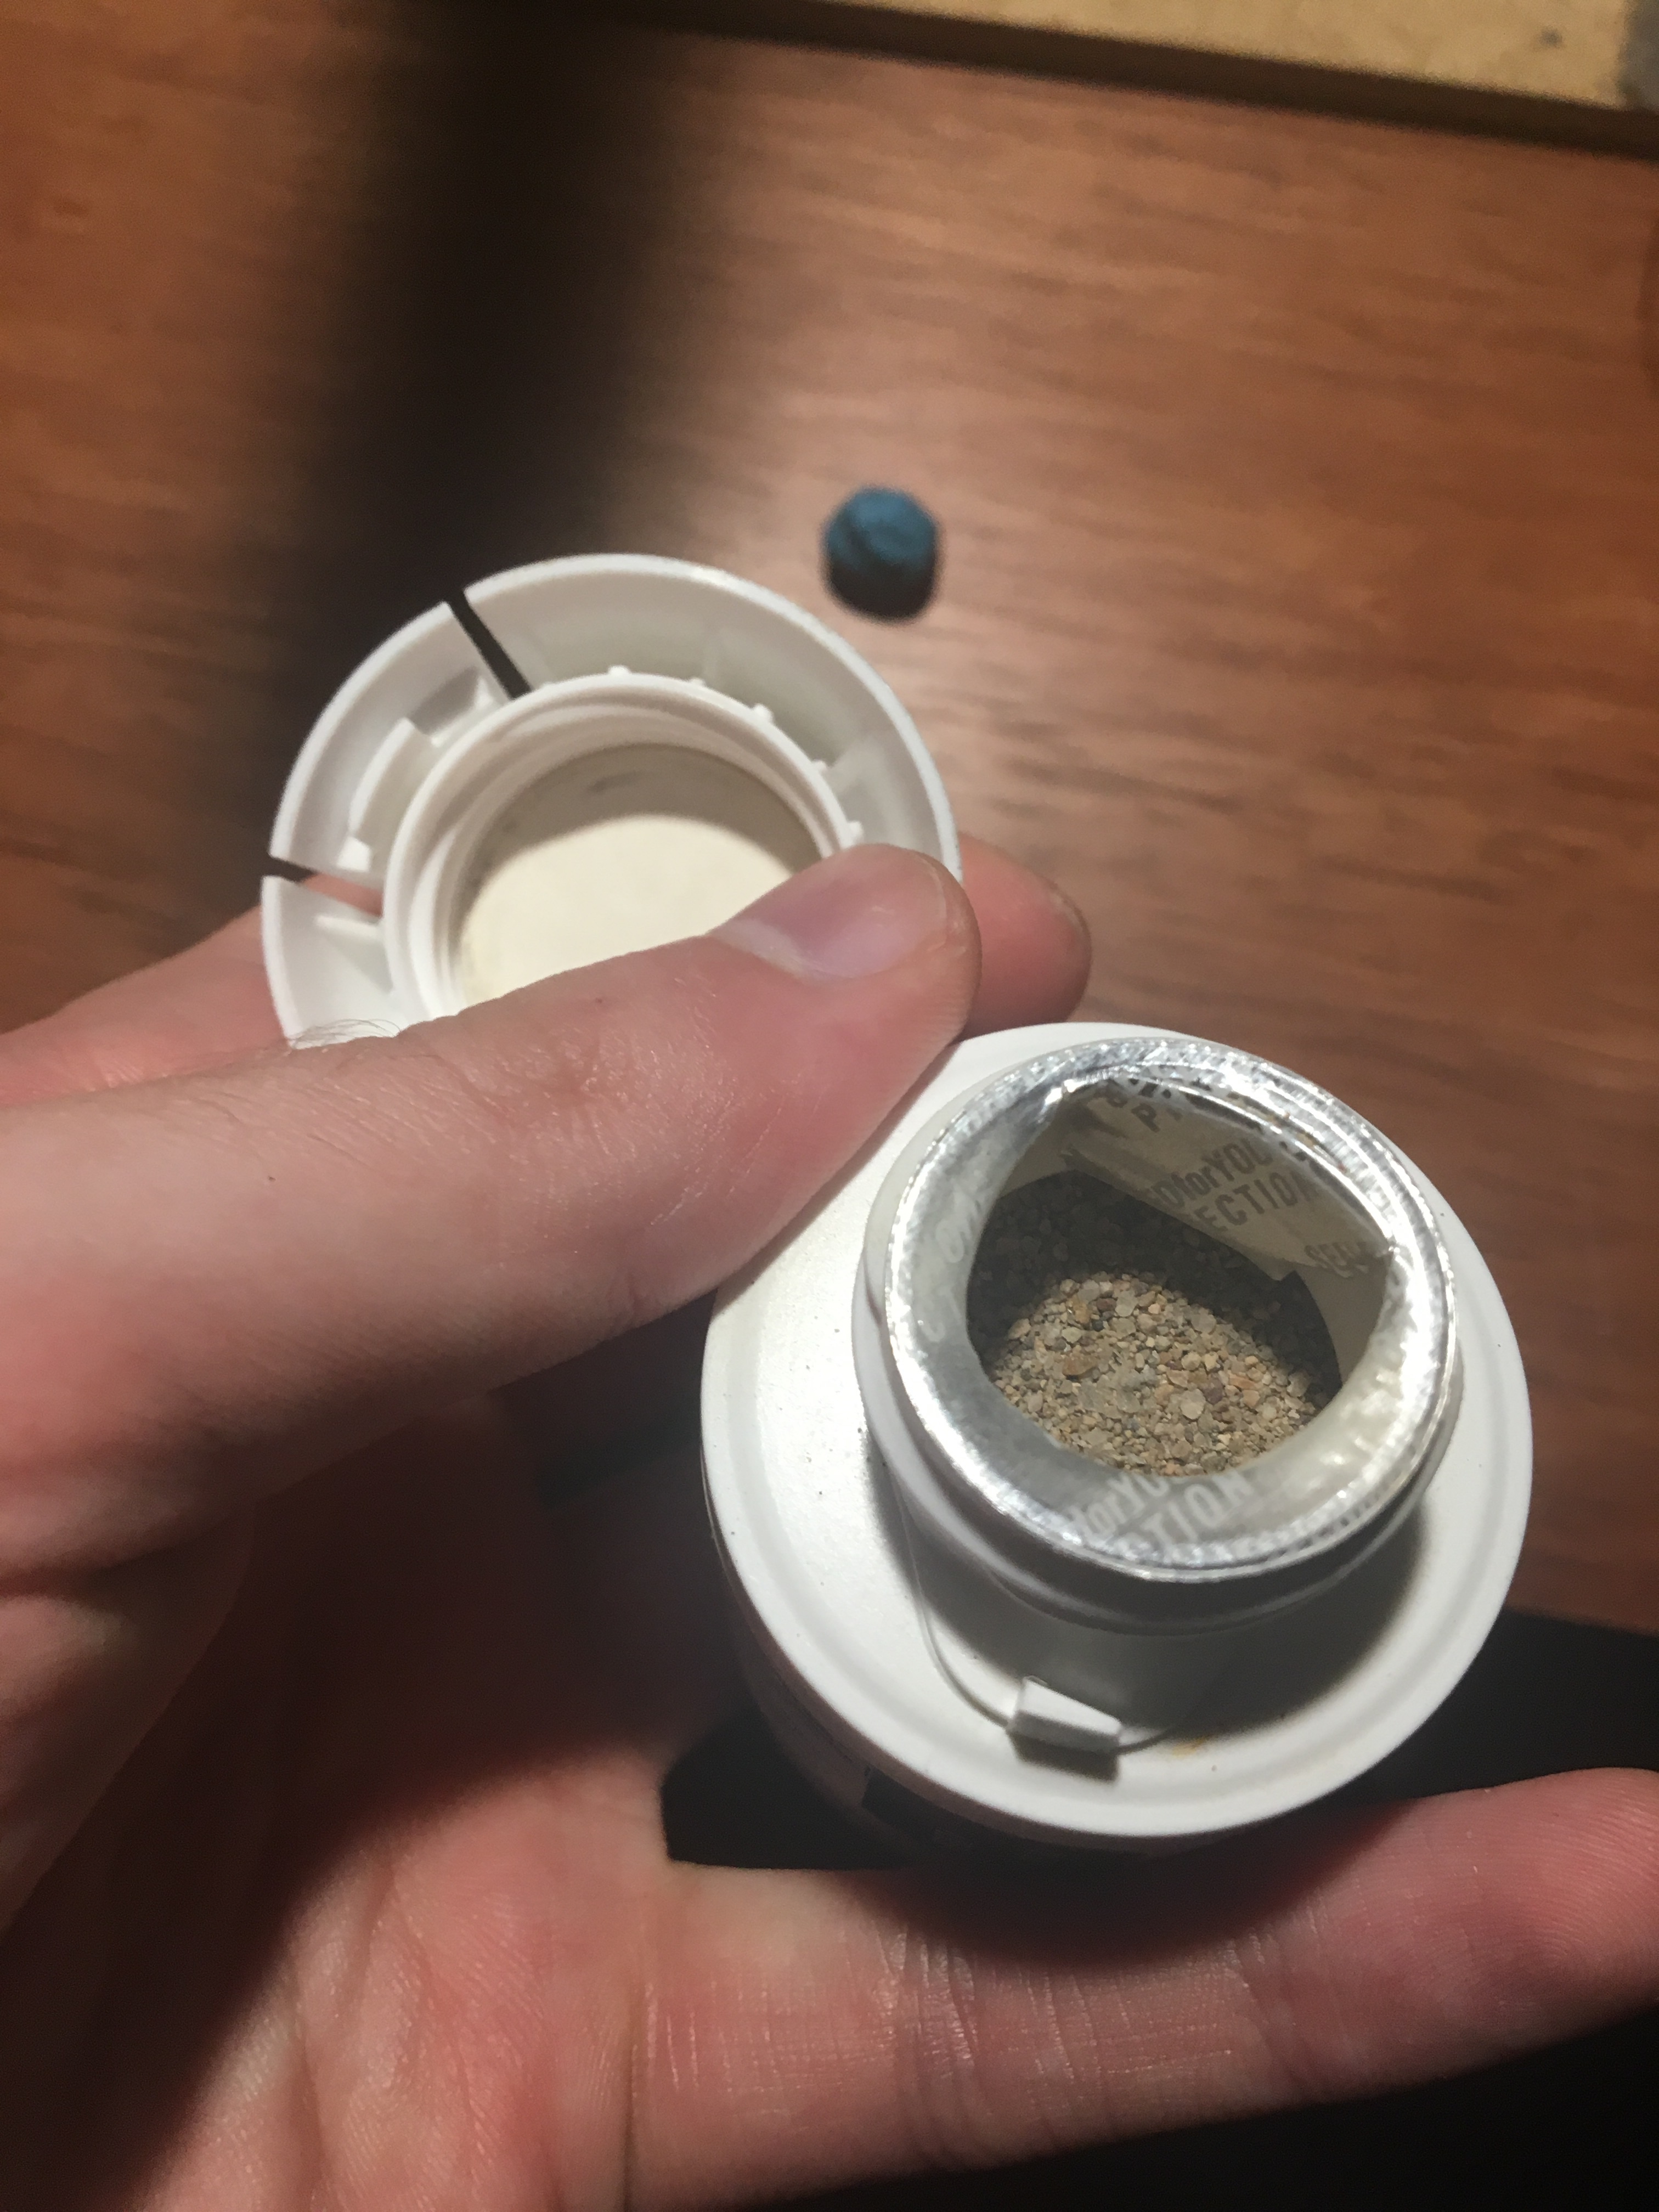
This blue blob of poster tack keeps my mini on the handle. First roll the putty in your fingers to get it warm. Then stick it on and shove the mini onto it. When first getting the hang of it I had the mini pop off sometimes, but now I feel like I understand how warm to get the putty and how hard to squish the mini on and I havent had any problems in awhile.
I hear you can secure the mini with hot glue if you are still worried about it falling off, then you can rip the mini off the glue with relative ease. I havent tried this though.
My last trick is this sand I put inside the bottle. This added weight can feel good to hold and helps prevent the bottle from tipping over easily should you set it down.
I hear gluing washers in the bottom might be even better as far as making the bottom sturdy, but again I havent tried that myself.
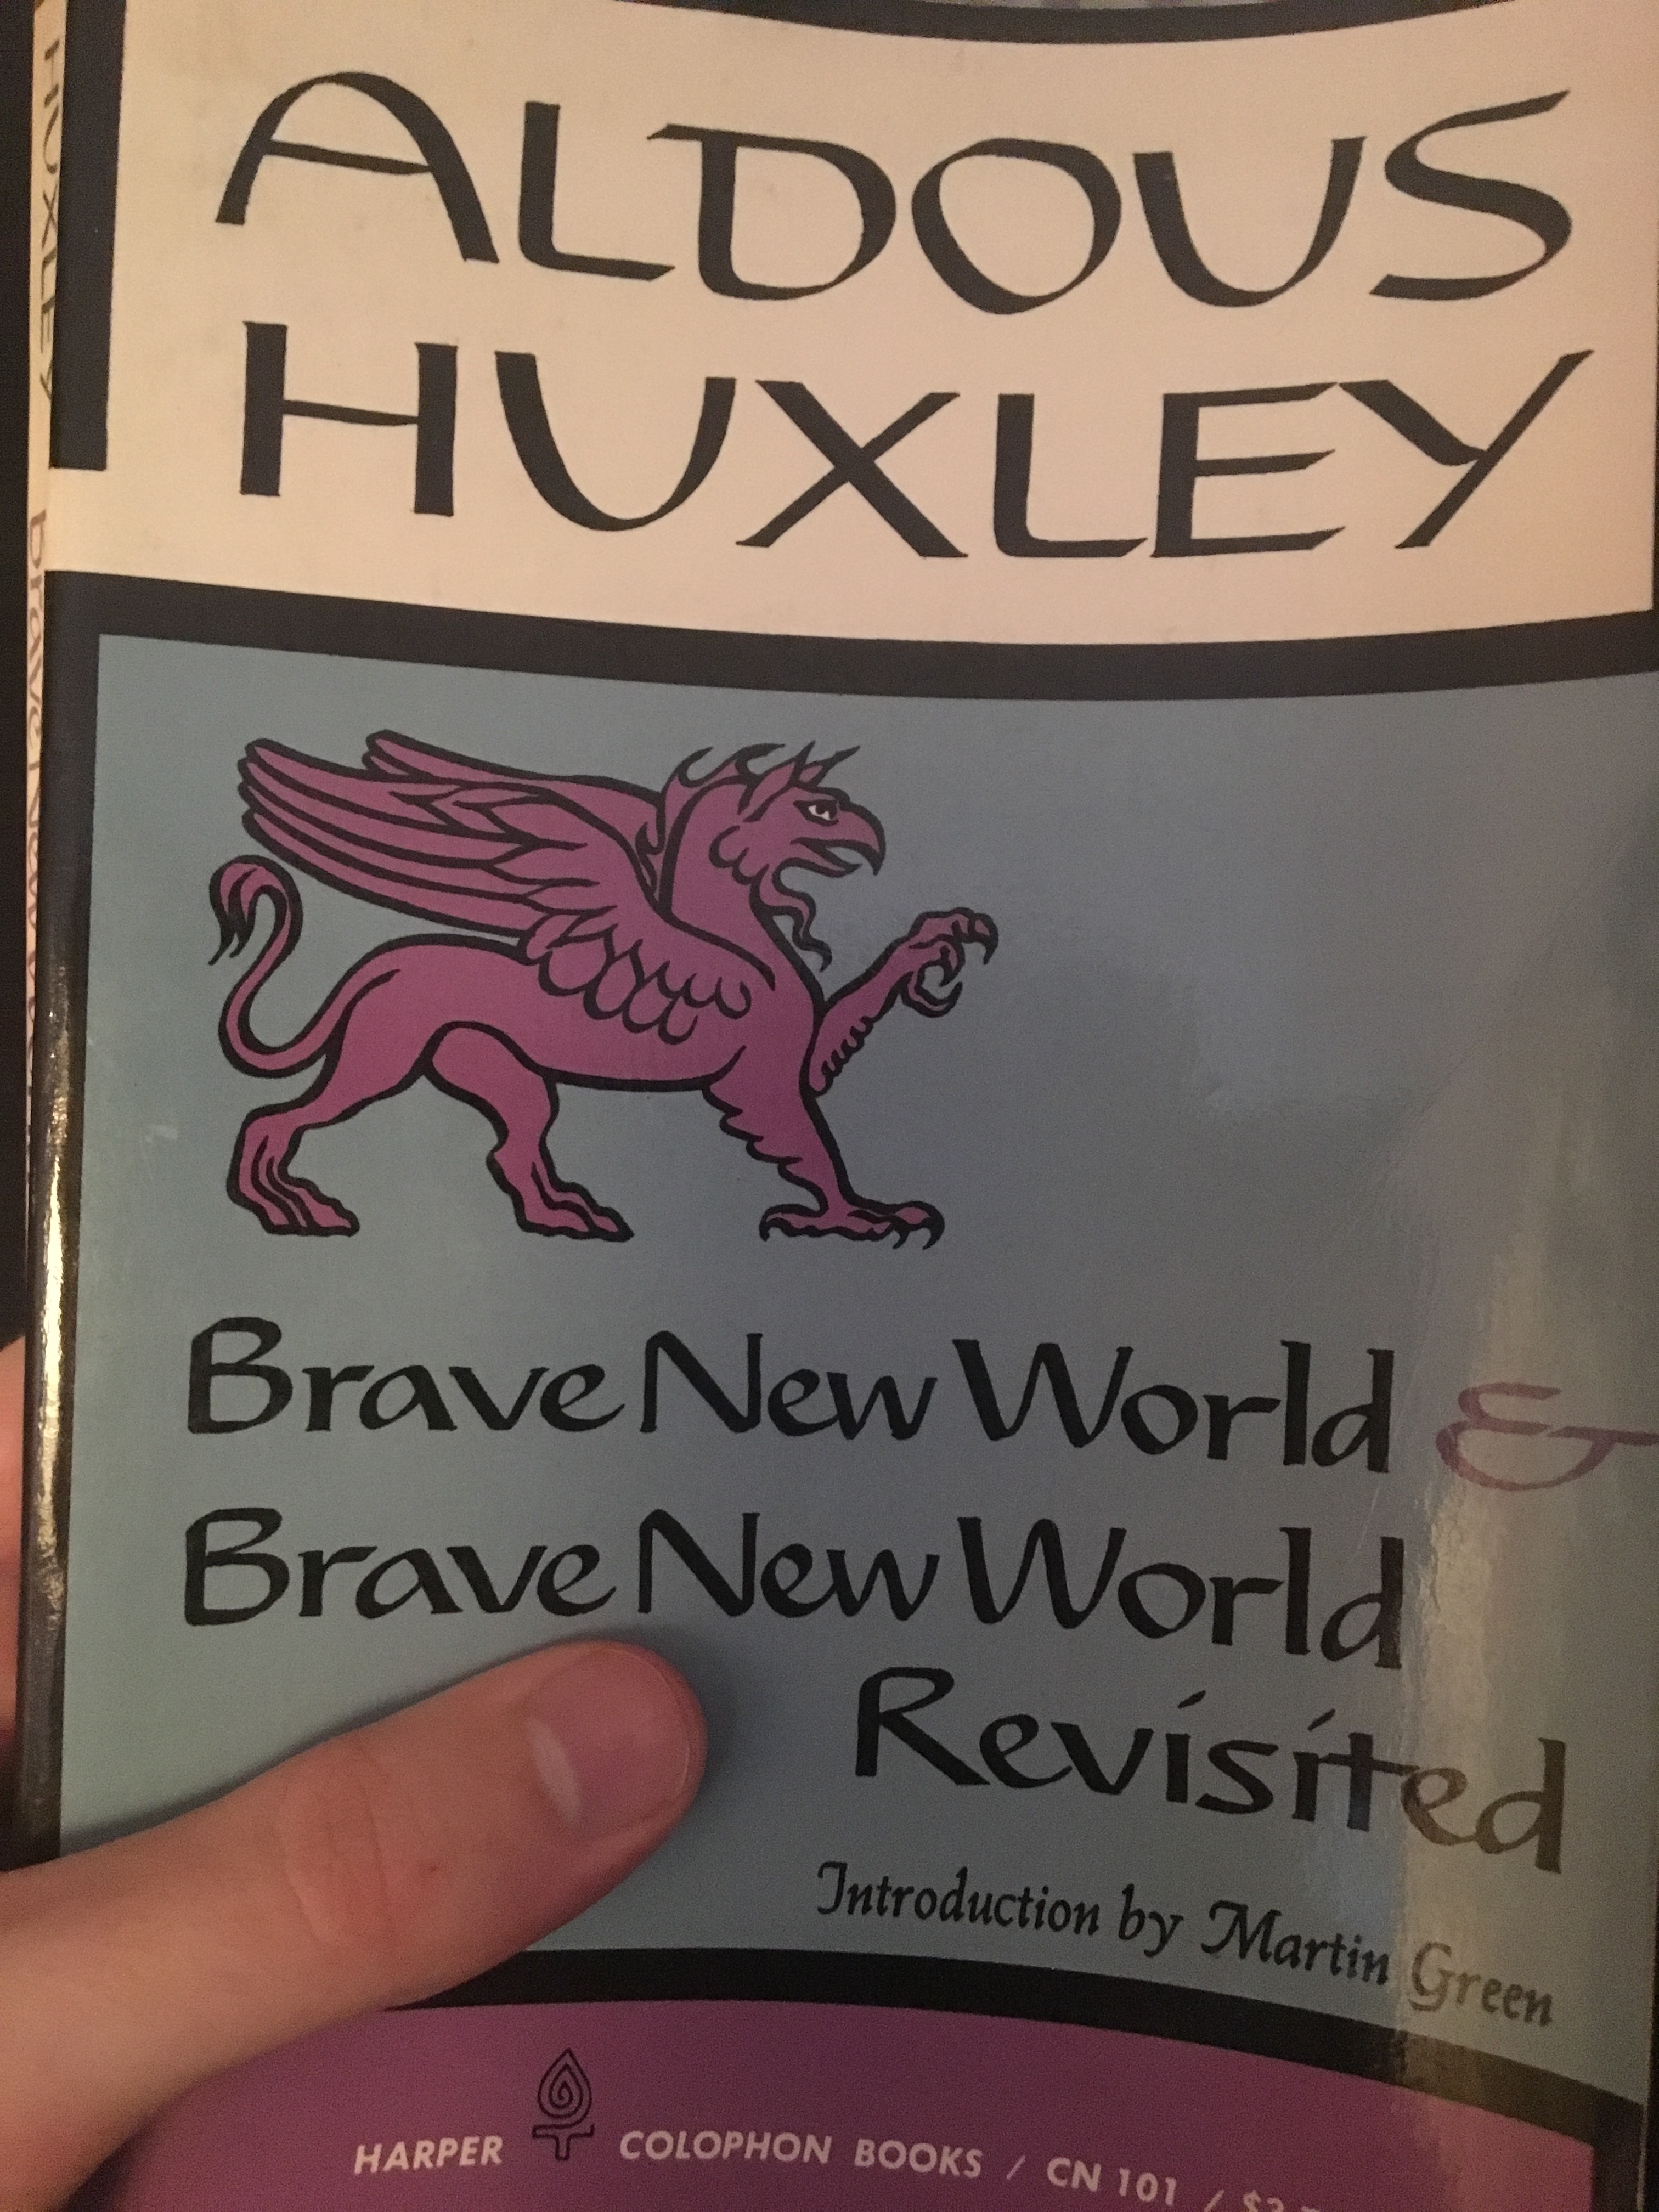
Brave New World helps stimulate the imagination when wondering what dark eldar society might look like. The futuristic cities described have hyperfixations on pleasure seeking, make most of their babies in test tubes, and look down upon the “uncivilized.” It ain’t a one-to-one match with drukhari society but there’s plenty of overlap.
Plus this book stands as a landmark in scifi lit worthy of reading by anyone who’s ready for some mature themes. I think it holds up fine despite its original release in the 1930’s. Though for me it feels more like an artifact, a time capsule, than a vital work speaking to me and my times. I still see it referenced in culture today, however, so perhaps I am an outlier in how connected I am to it.
What a secret pleasure, to think you’re an outlier. To have value on the merit of your rarity. I hear in Asia outliers are seen as protruding nails needing to get pounded flush with the grain of society. Where American outliers become documentary subjects.
Note: ive only read a little more than half so take my review with a grain of salt.
I went biking today to get my blood flowing and it irritated my arm some but hopefully helped more than hurt.
More progress on arms. Accidentally bent a heckatari blade but could bend it back.
Turns out my body counts as fragile today too. My right arm which clicks my mouse and holds my drill feels quite sore today. On the back of my forearm amost halfway to my wrist. Ive felt this hurt before while using the computer and now I can see I need to change my ways to prevent worsened pain.
My plan for now is to take more walk breaks and a day off of building tomorrow. Hobbystreak can involve reading of course so even with a crippled arm I can continue for bragging rights. Hopefully i dont regret that haha ha ow ouch ouchie.
Arms for the arm god, knives for the knife throne!
Slow going with mold line and sprue removal on these arms. Many curved edges that make it hard to remove sprue nubs seamlessly so I’ve mourned the loss of my flawless army and soldiered ahead with some rough edges here and there.
Look on my works ye mighty and despair… these are all the arms where I put the magnets in backwards and now they are repelled by their intended torsos.
Remember when I said I needed to mark my defective torsos so I dont confuse them with the ones I want my arms to match?
I thought lets put some sharpie on the two odd balls so I wont use them as references to get my magnets on the right polarity.
Aaaaaaand I sharpied one of them all right. And then instead of sharpieing the other defective I sharpied an innocent. And used the defective as reference for 8 arms that I glued together before I noticed my mistake.
And I was so proud of how fast I was gluing too…
Why are there only seven defectives in the picture if I glued 8? One arm had the magnet spin around by accident. So I unintentionally got that one right.
This stings.
But I have hope for a relatively painless solution.
I hear tell that a product called “super clean” can dissolve super glue and strip paint without dissolving plastic. Let’s see if we can try using some to unstick these backwards magnets.
Welcome to the episode where we give less of a care about grammar. I wish I could make you happy, my high school english teacher, but typing on a phone with good grammar taxes me too much.
New sword who dis?
The bottlenecks for this project so far have been my back and arms and my tools. For my aching body spacing out my work has helped some plus playing with my posture.
My knife needs an upgrade in the blade department – or else my arms aren’t working like they used to.
My knife cutting worse than I want makes me dread model assembly where I use my knife all the time. So that needs to get fixed.
Another bottleneck I forgot is my own incompetence. I got two of the magnets in the wrong way so they dont match the rest of the army. I’m already brainstorming how I will paint dunce caps on them. Just kidding. But seriously I need to be able to know at a glance which are the defectives. Turns out getting a glued magnet out is not so easy so for now they will stay left alone.
Modern art. Win five wile E. Tokens if you submit the best caption in the comment section. Mark your submission with the hashtag #armpilechallenge. Submit your entry to twitter for a chance at five additional Tokens.
Success… but the knifed fingers ask, “At what cost”It’s all coming togetherOh you thought we were only doing one side?Nahhhh — both sides my gWitness the might of this fully posable-from-the-waist-up, headless cage fighter space elf… and some super glue on thumbnail violenceAlright not every pose looks realisticGettin crazy with the cheese whiz
So what do you do when a magnet sinks in too deep and you want to fish it out? Suck it out with another magnet before the glue dries.
I’ve heard tell of magnets getting ripped out of their sockets after too much use. In that case I imagine I’d simply reglue the magnet or say screw it and glue the formerly magnetized parts together. I tried to apply plenty of glue to avoid this issue but I don’t have the experience to know how well I did.